

How to Check Tint Shades Using the Separations Preview Panel

I recently designed a large table (900+ cells) for a client. I used cell styles, paragraph styles, and character styles. We went through several iterations as the client decided how she wanted various tints to appear in the design.

At the very end of the project, the client asked me to double check the tint shade of the gray cells. I had originally set up the table using Custom Alternating Fills.

But I also knew that I had a number of local overrides in the table. Rather than click inside each cell to see if there was an override, I decided to use the Separations Preview panel. What’s not apparent at first glance is that this panel does more than preview separations. In the View drop down menu, there is also an option to display Ink Limit. Normally, Ink Limit is used for offset printing. If too much in is used, it won’t dry correctly, and the colors will appear muddy. Or in the case of digital printing, the ink will crack more easily over folds because of the excessive amount of toner laid down.
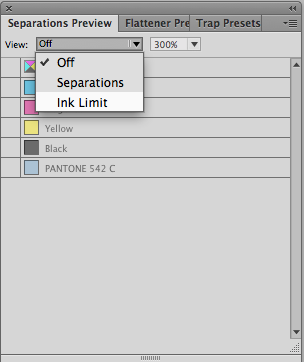 But in my case, I just need to see how much ink is used over various areas of the image. InDesign gives you a range of choices in the drop-down menu, but you can also type in whatever numbers you want.
Any areas that exceed the specified ink limit appear in red. Because nothing is red in the image below, it is clear that nothing is over 300% ink coverage.
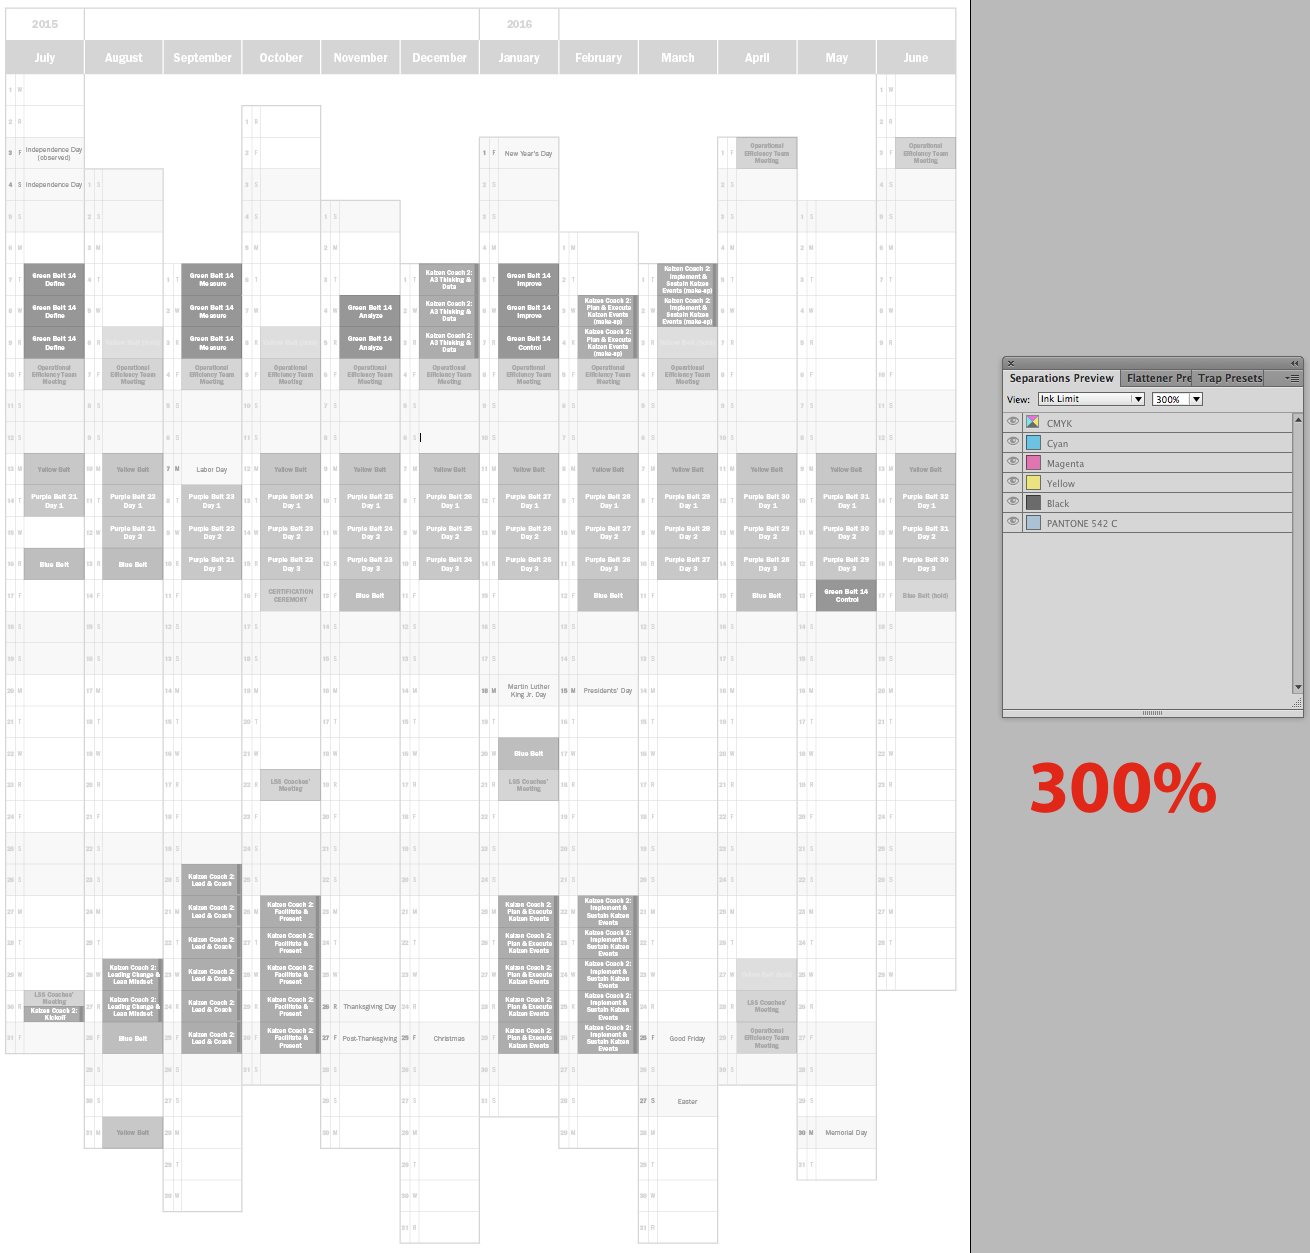
Ink Limit 300%
For demonstration purposes, I next chose a 200% ink limit.

Ink Limit 200%
Here is 100% Ink Limit.
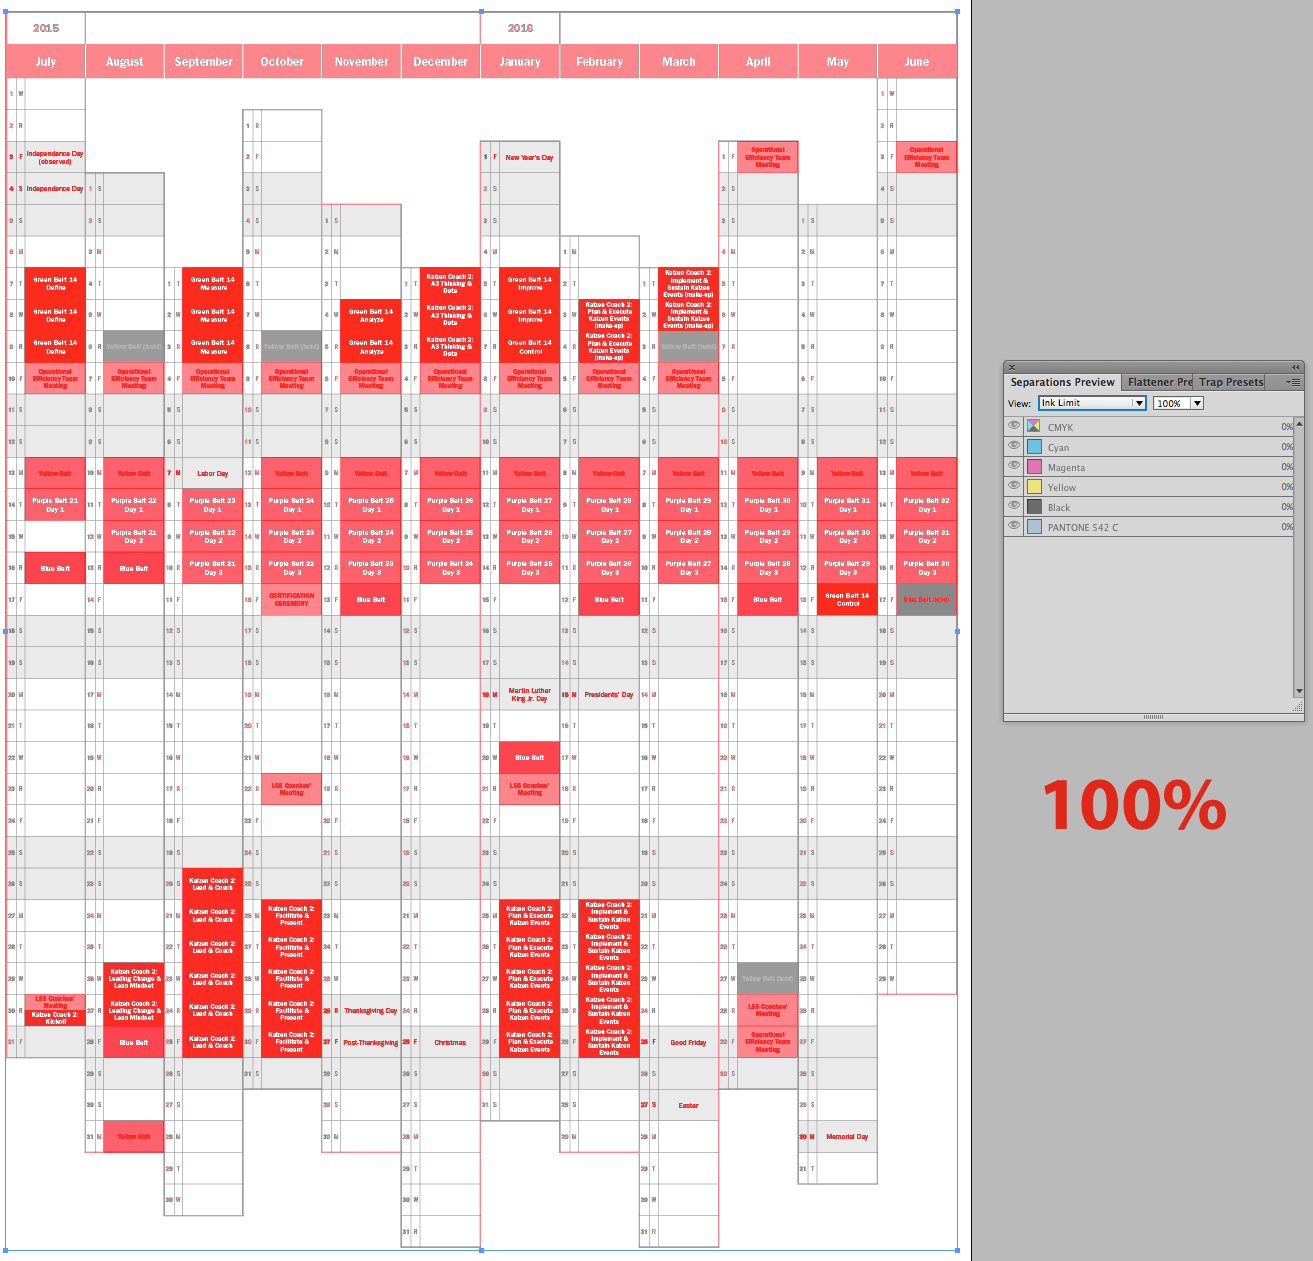
Ink Limit 100%
Here is 20% Ink Limit. Notice that the cells that I set up with the Custom Alternating Fills are not highlighted in red yet.
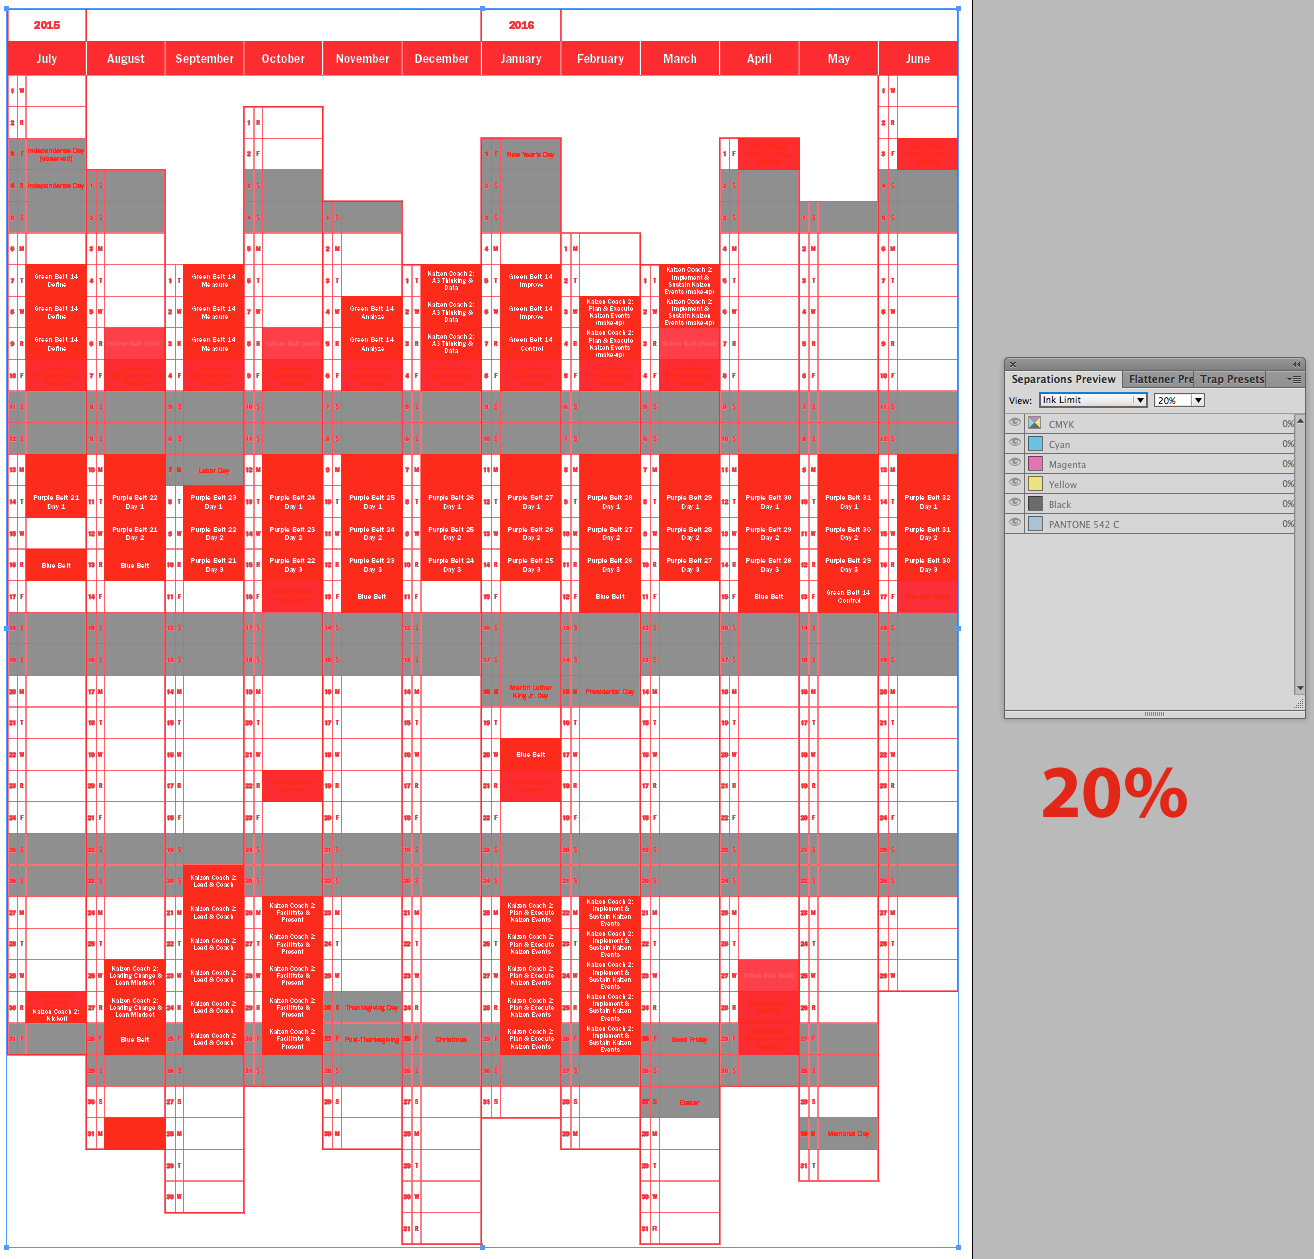
Ink Limit 20%
If you use the arrow keys to increase or decrease the percentage in the Ink Limit field, note that the numbers will jump increments of 5. So at 20%, my gray cells are still below 20%. But at 15%, the gray custom cells are now highlighted red, indicating that they are greater than a 15% tint.

Ink Limit 15%
So I go back to 20% and start testing each percentage. At 18%, the gray custom filled cells are not yet highlighted.

Ink Limit 18%
But at 17%, all the gray cells are highlighted in red, indicating that they all exceed the ink limit of 17%.

Ink Limit 17%
So within a matter of about one minute, I was able to verify for my client that all the gray cells had the same tint of the same color. Off to the press!
Thanks Kelly, nice to know this is possible in InDesign – I would have used a PDF and Acrobat Pro and/or Enfocus PitStop Pro to check for the specific tint being used.
The separations preview palette will also show you the total ink under the cursor. You can mouse around through areas of concern and see the total ink limit in the palette. It’s the value listed at the top of the list, above all of the plate names.
An extremely clever use of this panel! I love it.