

Making a Checkerboard Pattern With Nested Styles

I love coming up with new and unusual ways to make patterns in InDesign. Awhile back, I came up with a way to make 1950’s inspired floor tiles; basically, a black and white checkerboard pattern. But I recently thought it would be fun to try creating this same effect using text.
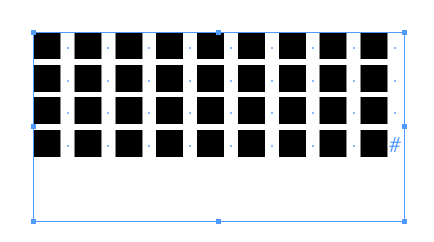
1. Go to Type > Glyphs. Choose Webdings as your font. Then look for the big black square, and double-click to insert it into your text frame. Close the Glyphs panel.

2. Copy and Paste the Glyph a bunch of times so you have some squares to work with. Now, you’ll notice that there is a space after each glyph that you probably don’t remember putting there. That’s because InDesign tries to be helpful, assuming that you want a space inserted before each chunk of text that you paste.
 3. To remove those spaces, open the Find/Change dialog box. In the Find What field, type a space. In the Change to field, press delete for good measure, just to make sure there are no residual characters hiding out in there.
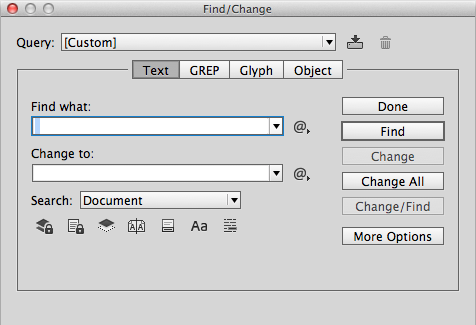
4. Click “Change All.”

Now, while that fixed the space in-between the squares, you’ll notice that there is still white space in between the lines of type. That is because of Auto Leading. InDesign has a default auto leading value of 120%. Unless you tell it otherwise, InDesign automatically applies this amount of leading to your text. We’ll fix that when we create the Checkerboard paragraph style.

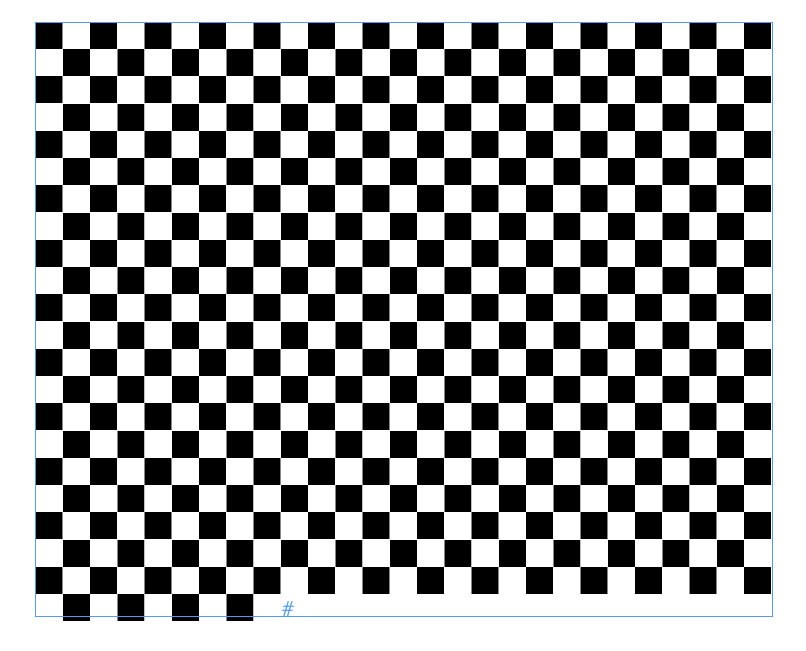
5. Now, we have a bunch of black squares all next to each other, but we need to make every other one of them white. We’ll do that using a nested paragraph style. First select one of the squares and change the fill color to Paper. Then make a new Character Style for this. Click OK.

6. Now, Make a new Paragraph Style. First we are going to fix the leading amount. Changing the Auto Leading value to 100% will make the leading amount the same size as the text. So if your text is 12 point, your leading will be 12 point. This will keep the distance between the lines the same, no matter the point size of the type.

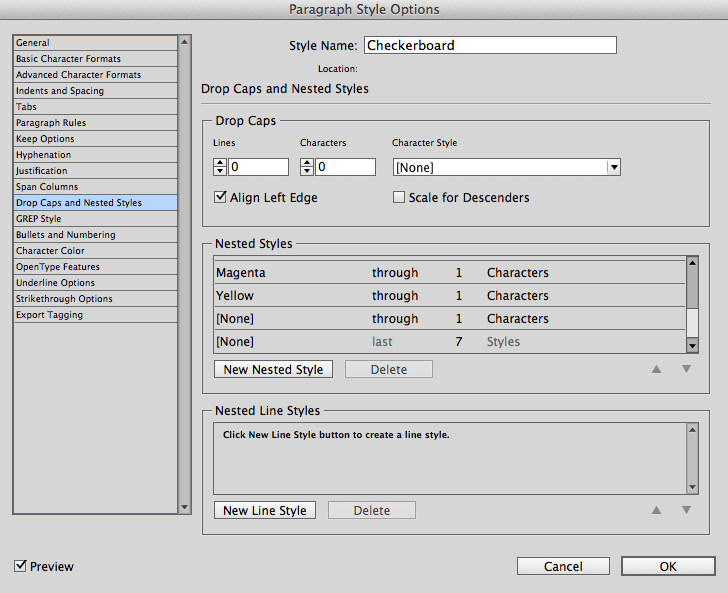
7. Next, in the Drop Caps and Nested Styles dialog box, choose [None] through 1 Characters, [White] through 1 Characters, and [Repeat] last two styles.

8. Under Justification > Composer, choose Adobe Single Line Composer. Also, be sure the Kerning is set to Metrics.

9. Now, if your checkerboard pattern looks more like a bunch of lines, simply adjust the width of the frame (so that there are an odd number of characters on each line) and it will fix the problem.
 10. Now, simply copy and paste the pattern a few times to fill up your frame. Be sure to remove any extra spaces that InDesign adds.
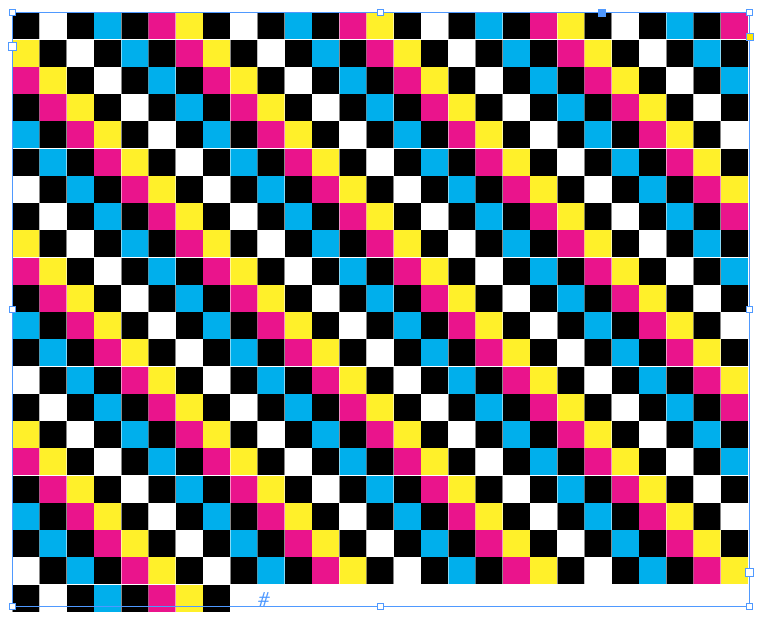
 11. For bonus points, make a few more character styles and add them to your repeating nested paragraph style.
I hope this tutorial will inspire you to create patterns in InDesign. If you’d like to play around with this checkerboard pattern, here is the snippet.
To see another way of using nested paragraph styles to create a pattern, check out my YouTube video.
Good one.
Great exercise! Thanks for your generous share.