

Easy Patterns in InDesign

With this simple technique you can create an endless variety of patterns with just a few clicks, right in InDesign!
1. Use “gridify” to create a grid of objects
Begin drawing a line, oval, rectangle, or polygon, and without releasing the mouse, tap the up-arrow or right-arrow key on the keyboard a few times. As you do this, you’ll see a grid of objects begin to appear. Each tap of the up arrow creates a new row of objects, and each tap of the right arrow creates a new column of objects. The down arrow and left arrow keys remove rows and columns.

Tap the cursor (arrow) keys on the keyboard while drawing an object to create a grid of objects.
2. Apply a light color, and set the blend mode to multiply
Apply a light color to the fill and/or stroke of each object. Then use the Effects panel to set the blend mode of each object to Multiply.
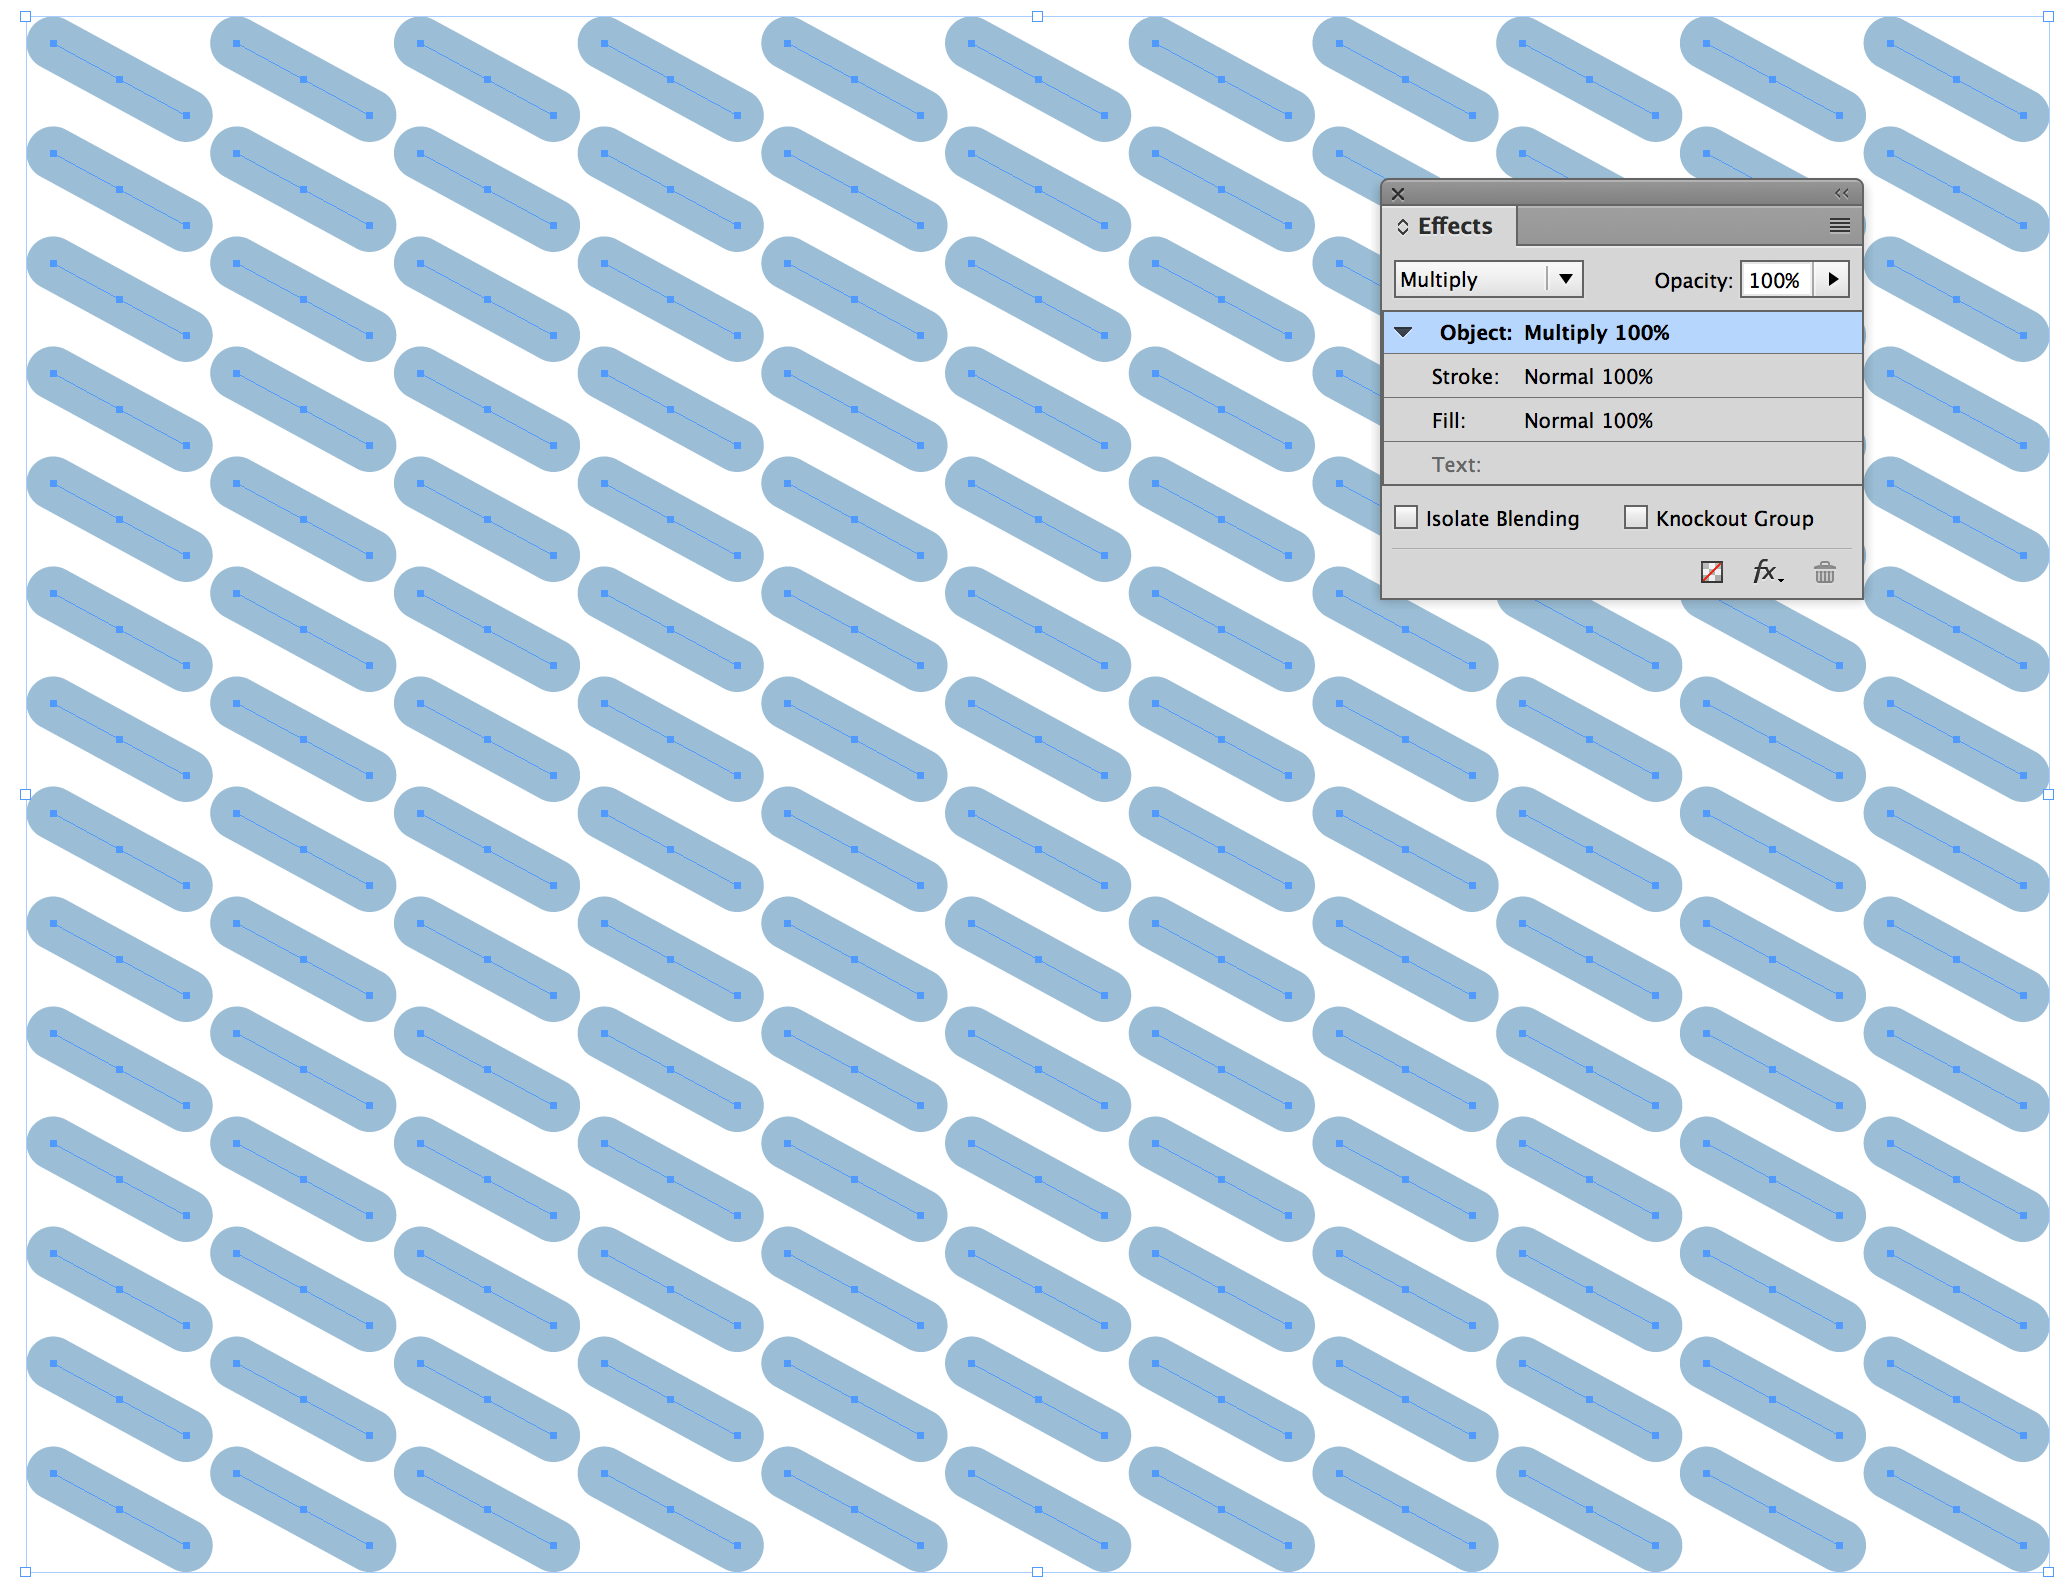
Apply the Multiply blend mode to the objects, or experiment with other blend mode and color combinations.
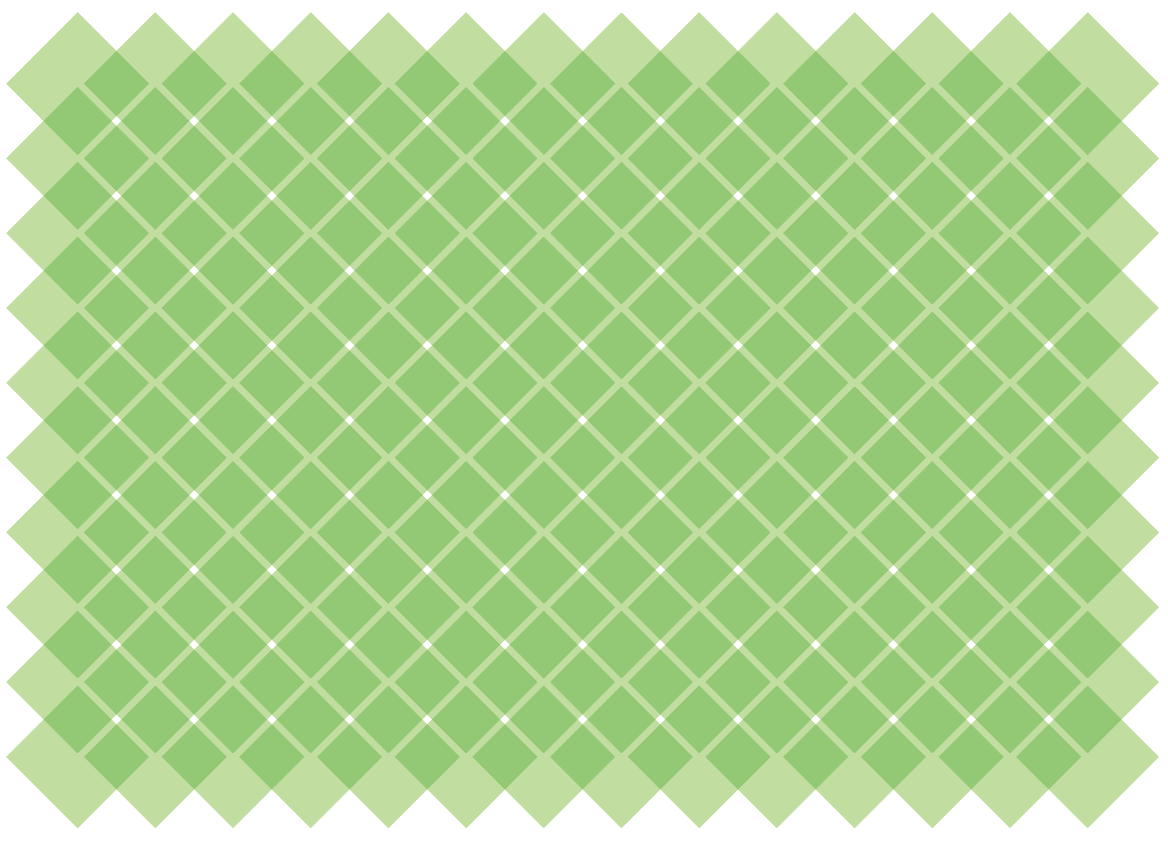
3. Adjust the spacing with “live distribute”
Now here’s the fun part. Select all the objects, and begin dragging a corner selection handle. While dragging, add the space bar (you must begin dragging the corner handle and THEN hold down the space bar). Now, as you drag, the horizontal and vertical spacing between each object will change. Because of the Multiply blend mode, where the objects overlap, you’ll get a darker colored region. Take some time to explore and try different amounts of overlap and you’ll discover a kaleidoscopic variation of patterns.
Note: If you are using InDesign CC 2015.4 or later and you have a GPU-equipped computer, enable Preferences > GPU Performance. With this on, you will be able to see the overlapping objects as you drag the mouse during live distribute. Without GPU Performance, you’ll only see an outline of the objects until you release the mouse.

The same objects as the previous screen shot, but with the spacing between each object changed using Live Distribute.
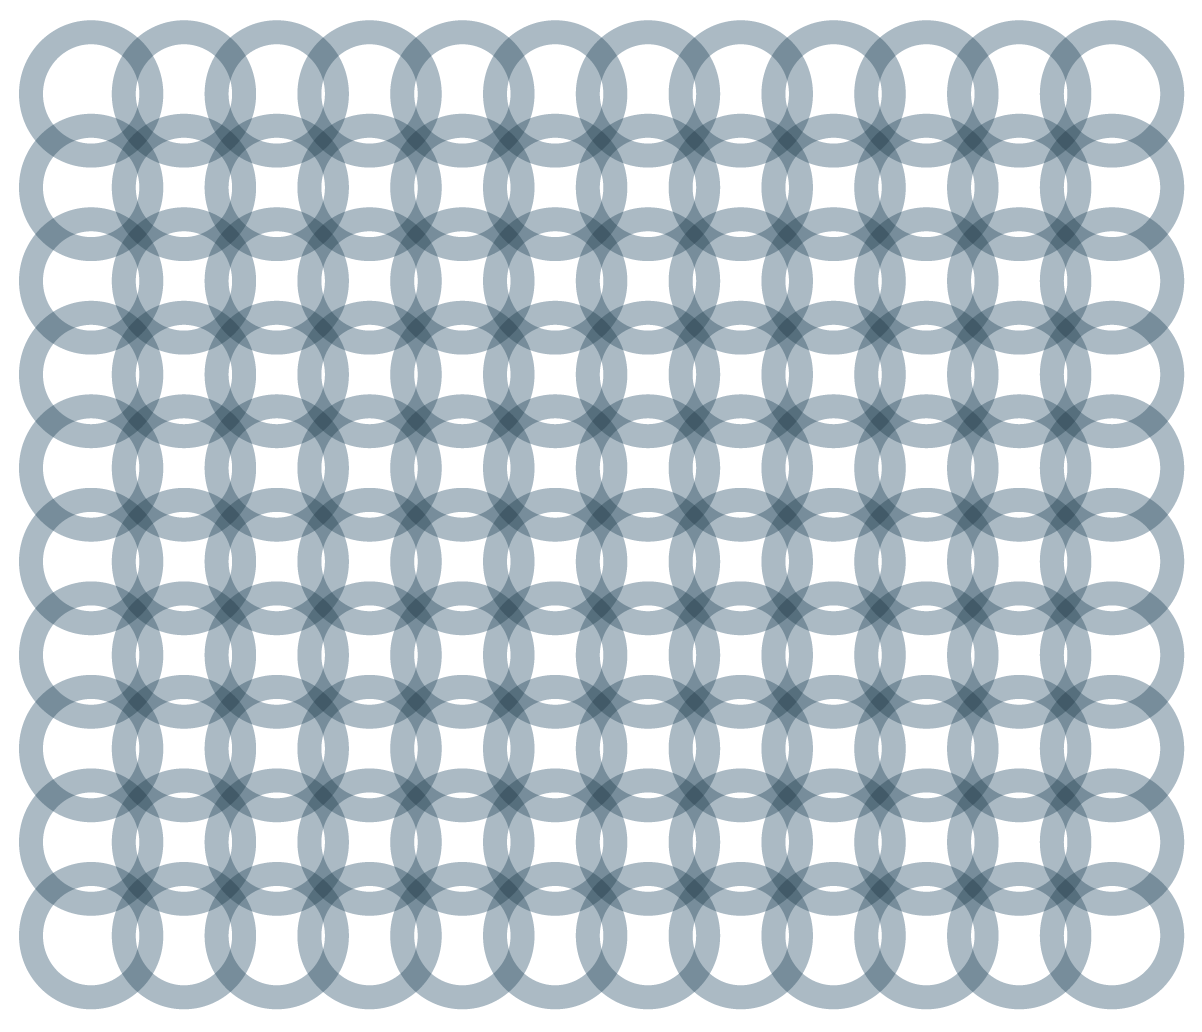
Circles with no fill, strokes set to Multiply.
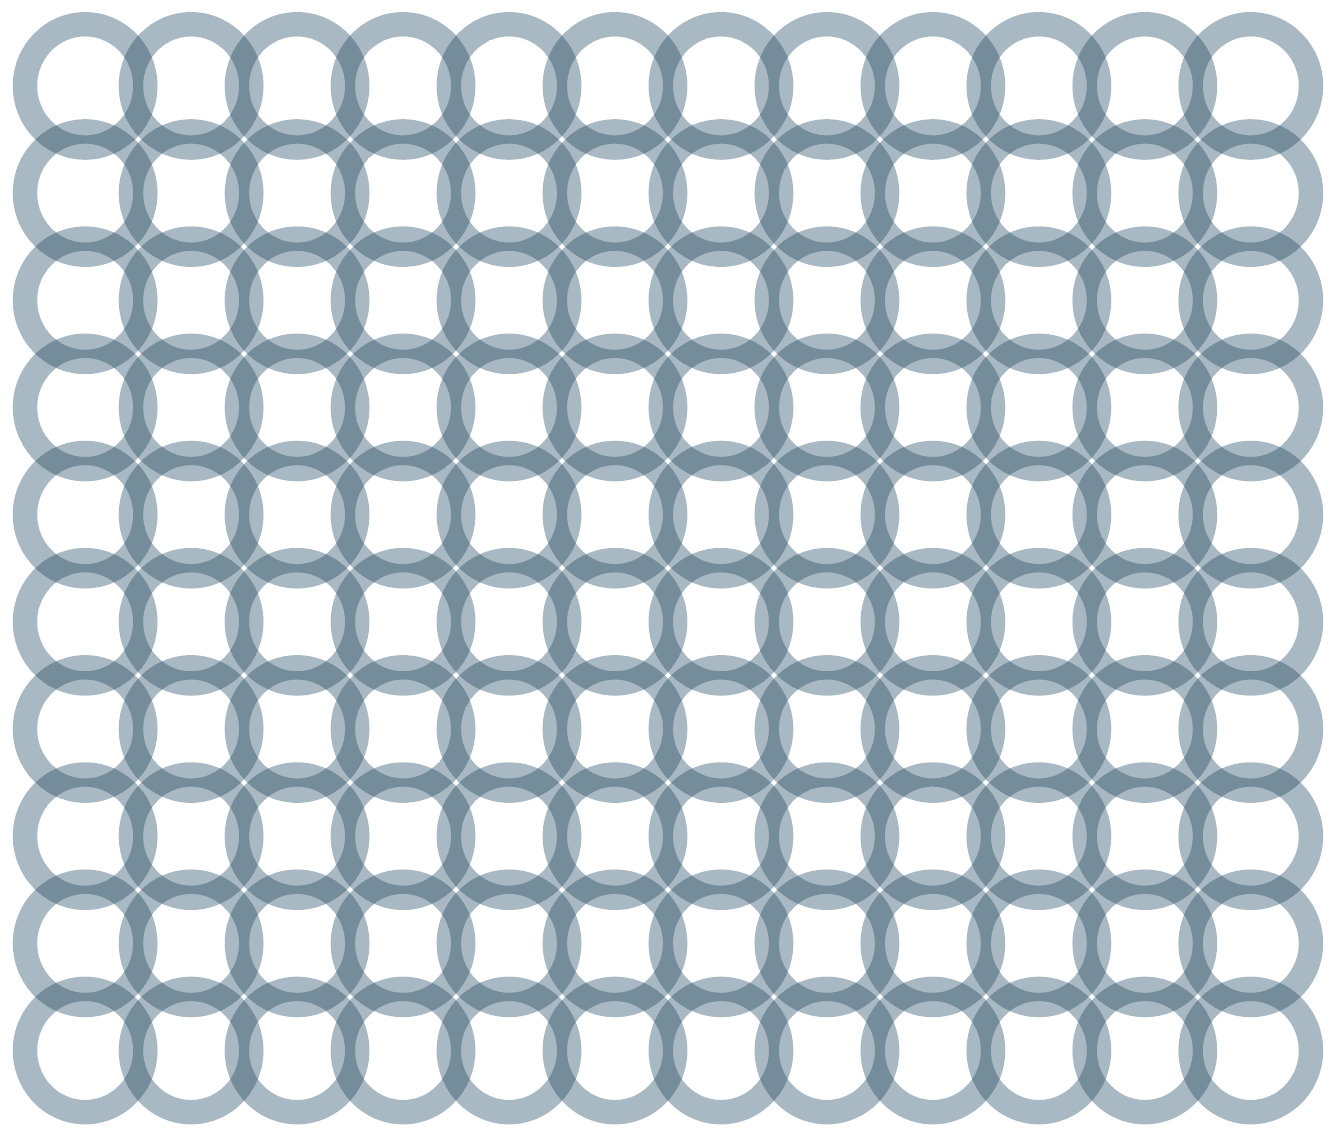
The same circles, but with more spacing between each circle.

Filled circles

Filled polygons
4. Explore with Transformations
Here’s an interesting variation: rotate one of your objects, and then select all the rest of the objects except for the one you just rotated, and choose Object > Transform Again > Transform Again Individually.

Overlapping filled squares
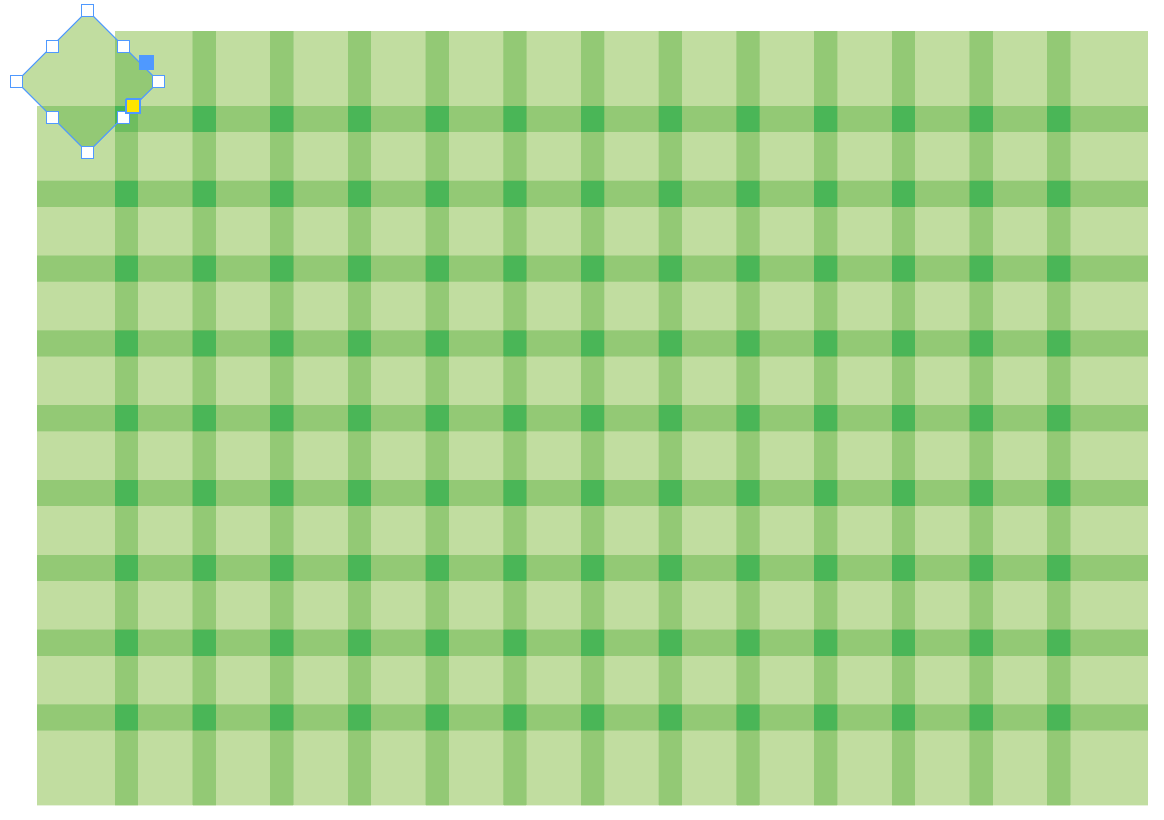
The first square is rotated
Transform Again > Transform Again Individually” width=”300″ height=”217″>
After selecting the other squares, and choosing Object > Transform Again > Transform Again Individually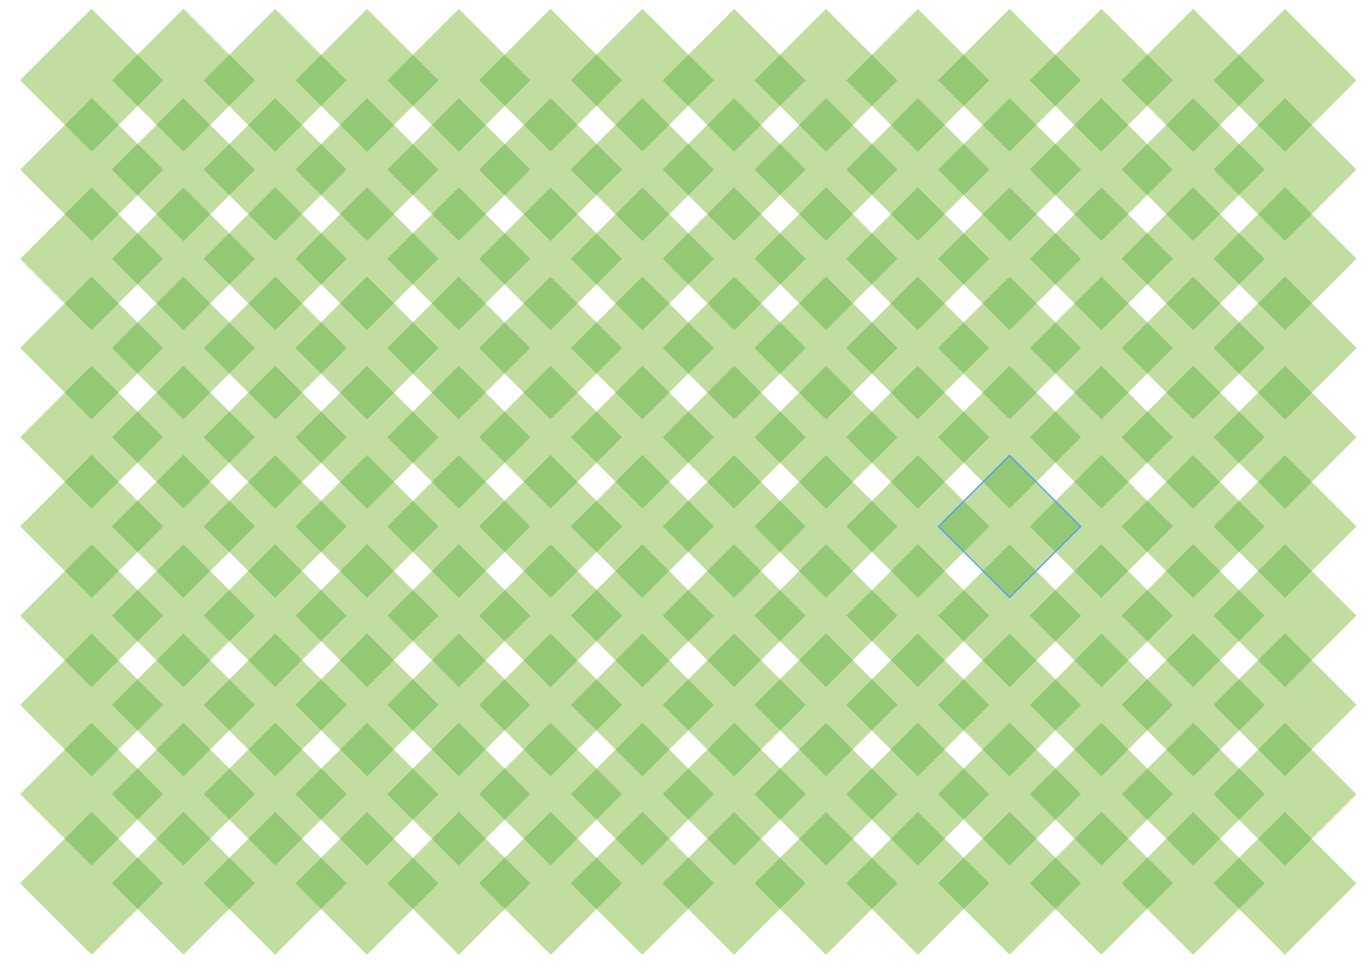
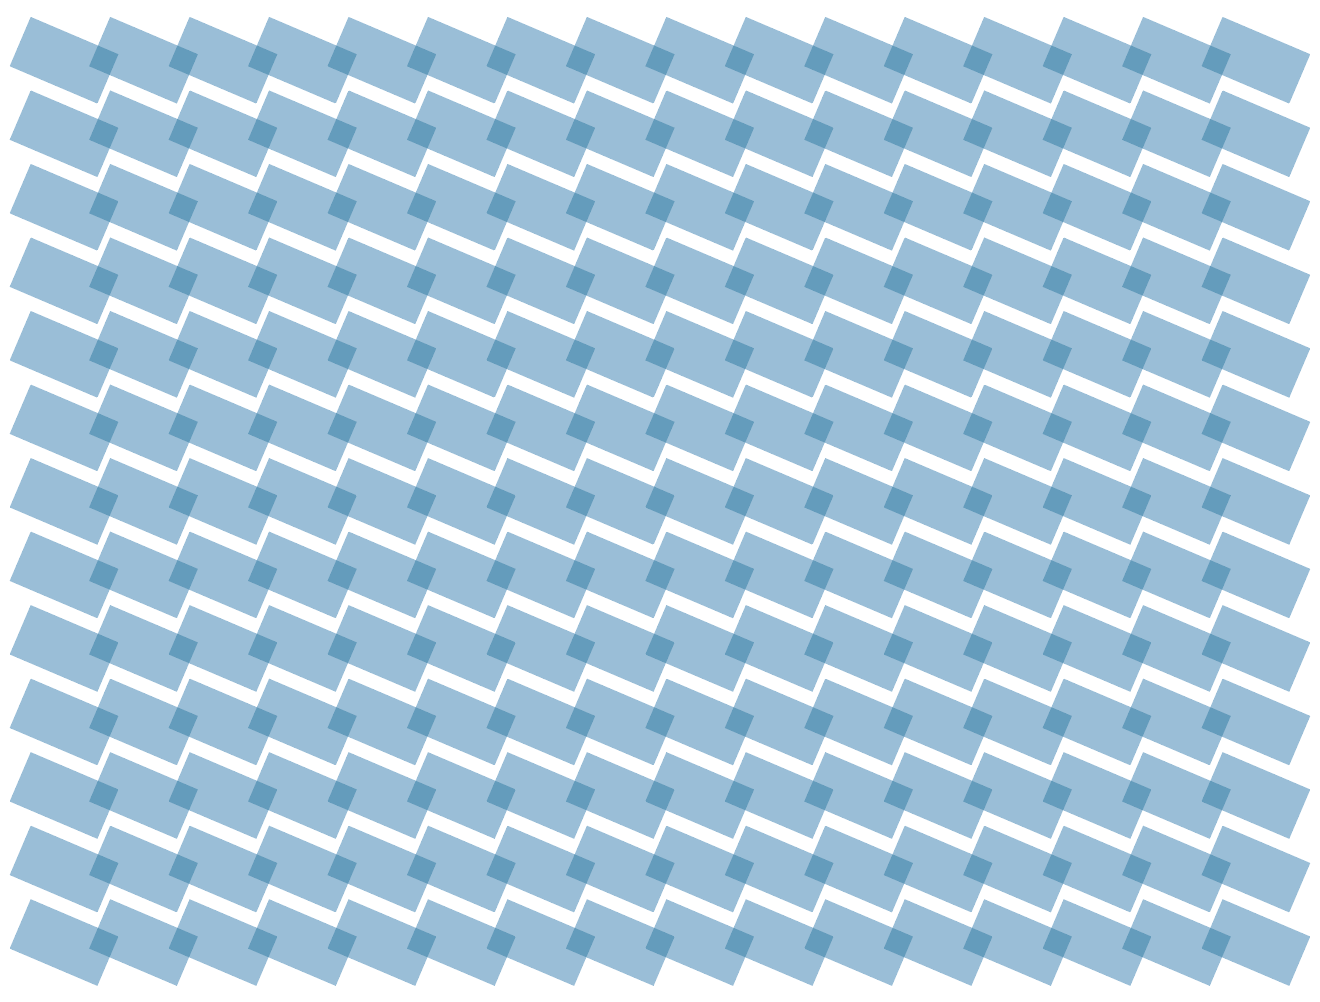
Spacing adjusted with Live Distribute
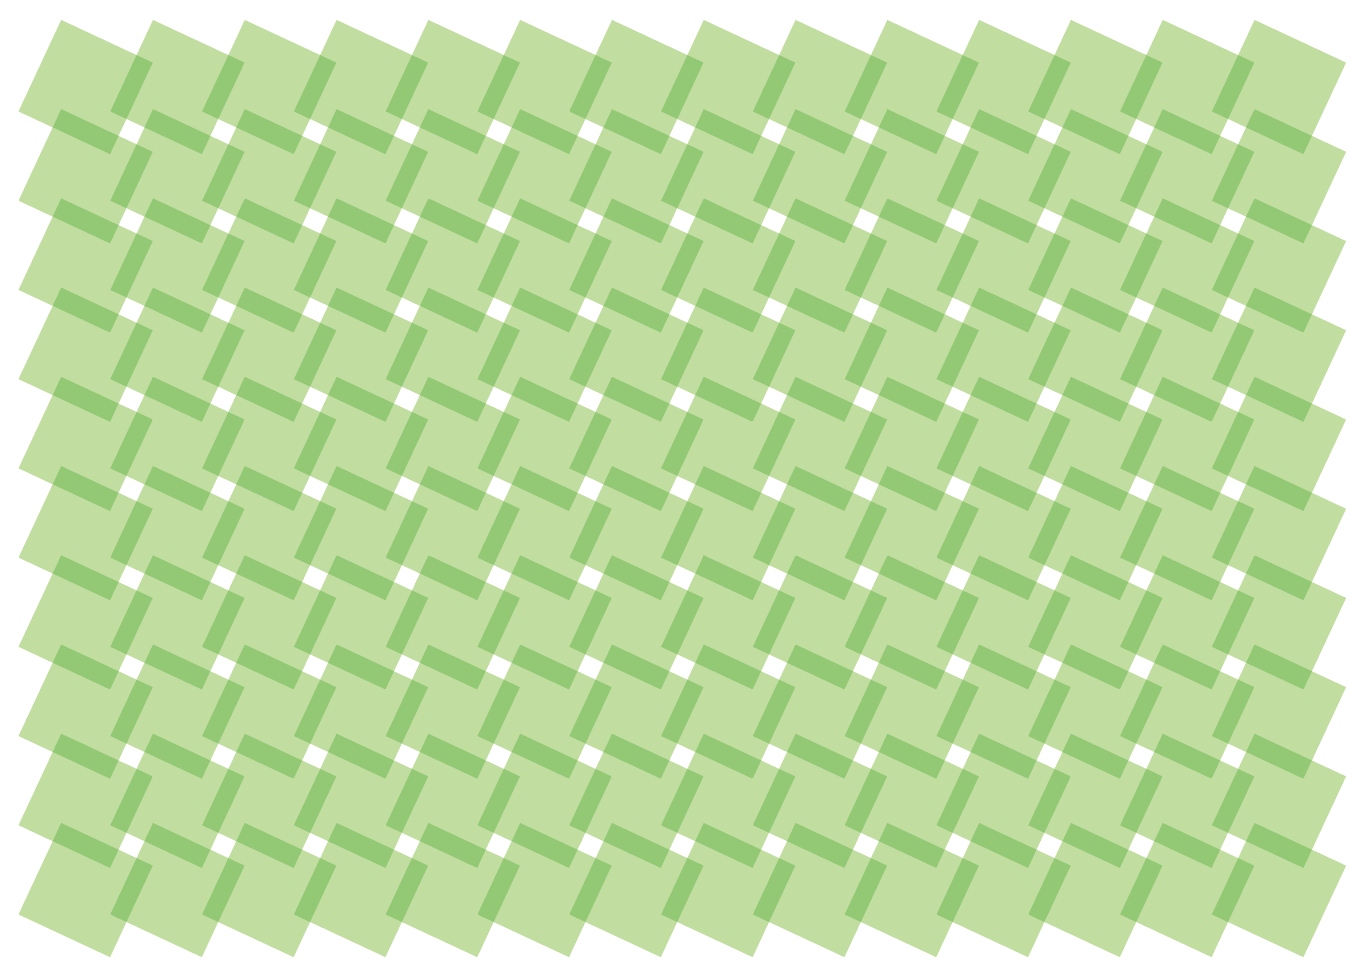
Different rotation, different look
5. Finish off with a mask
Once you’ve created a pattern that you like, you may want to “fill” an object with the pattern. You can do this by selecting all the objects and choosing Object > Group. Then choose Edit > Cut to cut the group. Next, select the object you want to fill with the pattern and choose Edit > Paste Into.
A pattern created with overlapping thick strokes with square ends
The pattern from above grouped, copied, and “pasted into” a rectangle. The rectangle itself has a fill color applied. The pattern was scaled, rotated, and resized after pasting it into the rectangle.
I would just say, Wow!
I’ve tried the example above. Neat, however, in order to fill whole page
need to group and paste! By tapping up and down arrows, the object gets smaller,
doesn’t copy across page…I’m using CS6