

How to Magnify Your Screen Display

Sooner or later, it happens to most of us. No matter how good your eyesight once was, that day comes when small print and other fine details become hard (if not impossible) to make out. It’s bad enough when you’re in a restaurant and everyone at the table is waiting for you to order from a blurry menu. It’s much worse when you have to struggle to see the small icons, buttons, and other user interface elements to get your work done in InDesign (or other applications). Fortunately, whether you’re using Mac or Windows, your computer comes with a built-in magnifier that you can use to make those tiny pixels appear a lot larger.
Magnifying the Screen in Mac OS
If you’re working on a Mac, you can enable magnification by opening System Preferences and clicking on Accessibility. Then click on Zoom.

Be sure Use Keyboard Shortcuts to Zoom is selected, and note the keyboard shortcuts:
Option+Command+8 for Toggle Zoom
Option+Command+= for Zoom in
Option+Command+- for Zoom out
You can have the zoomed area sharp and pixelated or smoothed with the shortcut Option+Command+\
With the Zoom Style menu, you can choose to zoom the entire screen (Fullscreen), or just a portion of it around your cursor (Picture-in-picture).
Click on More Options. A new dialog box appears where you can set options like the amount of magnification.
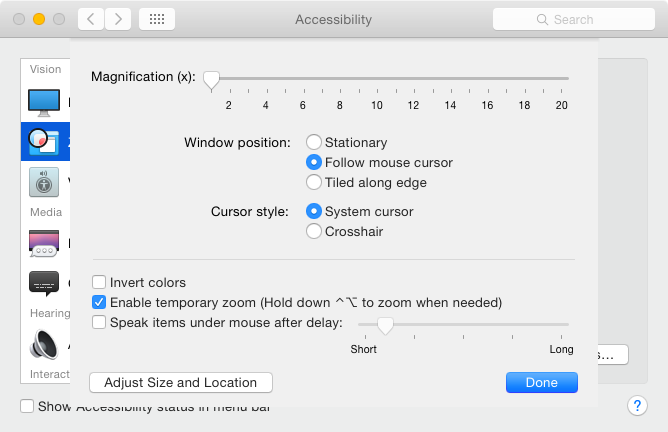
And if you’re using the Picture-in-Picture option, you can click on Adjust Size and Location, then drag a side or corner to resize the magnified area.
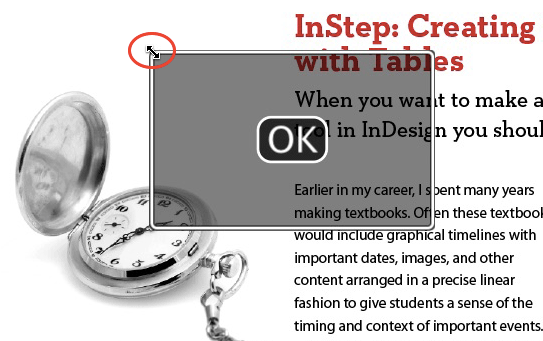
When it’s the size you want, click OK and then Done.
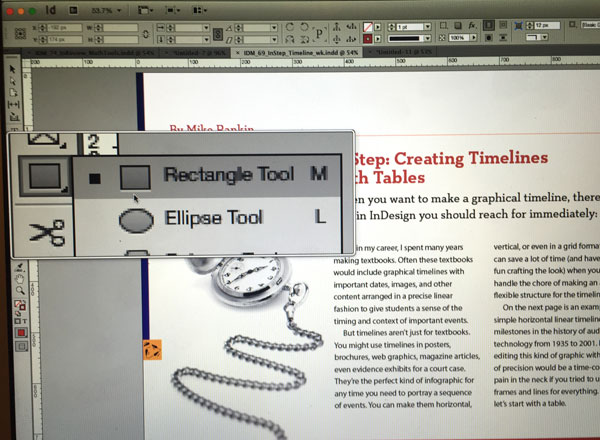
I haven’t figured out how to get a screenshot of the magnification effect (it disappears whenever I invoke any of my usual screenshot tools), so I resorted to just taking a picture of the screen with my phone to illustrate it.
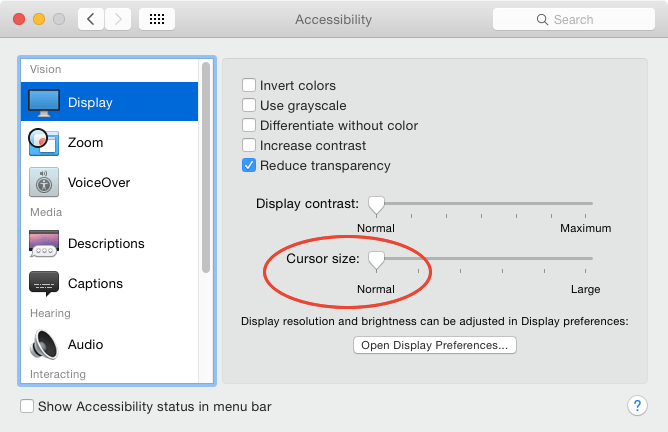
Also, Anne-Marie reminded me that you can make your cursor larger in the Mac’s Accessibility preferences. Click on Display, and then drag the Cursor size slider till you’re satisfied. The size ranges from Normal (which is actually kinda small), all the way to Large (which is ginormous).
Magnifying the Screen in Windows
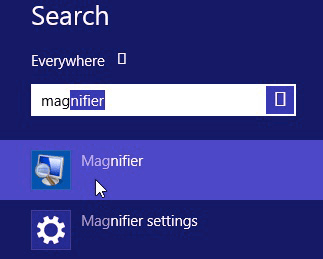
Windows also has a rather nifty built-in magnification tool. Just search for “Magnifier” and click on the app in the search results to launch it.
The Magnifier has a simple set of options, including buttons to control the percentage of magnification, three styles of Views (Full-Screen, Lens Mode, and Docked Mode), as well as controls for changing the shape and size of the magnified area in Lens Mode.


So never again will you have to squint, stare, or guess what it is you’re clicking on in InDesign or any other app on your computer.
But for those restaurant menus, you might still want to invest in a pair of cheap reading glasses.
Magnification is OK but clumsy. I’d be delighted if Adobe offered a larger text options for its panels and tools. Most seem designed for an era of 17″ and 19″ screens. With the much larger screens we use today, larger text and mouse targets are more practical and would save time squinting and hitting a tiny target.
That’s particularly true for those who’re past 40 or so when presbyopia typically sets in.
That’s a great point about the larger screens, Michael.
I agree with you!
I second that motion. To the Adobe Wishform!!!
Mike, next time you need to take screenshot of something that disappears as soon as you press the “take a screenshot” key(s), use a *timed* screenshot instead. That way you press the screengrab shortcut, and it starts a countdown (3 or 5 seconds or whatever) first, giving you time to set up the shot, including pressing other keys if necessary.
The free Mac utility, Grab (in the Applications > Utilities folder) offers this. So do most third-party utilities, like Snag-It, the one I use.
Thanks, Anne-Marie. I did try all the options in Grab, including the timed one. In that case, the border of the magnified area appears, but what’s inside it is the same scale as the rest of the screen. SnapzPro, which usually gets screenshot-shy stuff also failed.
OMG you’re absolutely right. I was so sure it’d work I didn’t test it. This’ll teach me to doubt your word, you wizard, you! Didn’t even work w/my trusty Snag-It. Gah. (OTOH, you could take a video, pause it, and then take a screen shot.)
I agree w/Michael … when I watch Mac users on 24″ and 30″ hi res Apple monitors, I’m amazed at how tiny everything is. (I do all my work on a 15″ MacBook Pro.) One thing that makes life a *lot* easier, as Mike mentions in the post, is to increase the cursor size, even just a small amount, in the System Prefs >Accessibility > Display section. No more having to shake the mouse around to spot the cursor on the monitor. Also, making the cursor overly large (double or triple in size) is a great aid when teaching or demo-ing via a screen projector.
Thanks for posting that, Mike. It’s one of those frequent questions on users forums, and I’ve just bookmarked this article for reference.
Sorry for taking over the comments, but just one more thing … ;-D
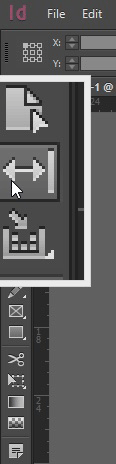
Expanding on Mike’s tip about the amazing picture-in-picture zoom for Macs, which I didn’t know before I saw a draft of this post (thank you Mike!) … you can change the size of the rectangle as described above so it’s tall and skinny, just right for working with the panel docks in Adobe apps. Then just call on it when needed with the Command-Option-8 keyboard shortcut. I made short video demonstrating this:
https://creativepro.com/downloads/magnify-tip.mp4
It’s great to have all this info. in one post. Thanks. But, I have to say that I have found the best solution to be prescription eyeglasses ground specifically for use with monitors.
That’s where I recently screwed up. I had to have a prescription for my transitional bifocals (lineless) and they are not specific for use with monitors.
By lunchtime, I have bouts of dizziness/lightheadedness and my eyes hurt.
thank you!
Nobody have a linen tester on their desk anymore?
A who?
Mine is in a desk drawer.
@Anne-Marie:
https://www.google.com/search?q=linen+tester&ie=utf-8&oe=utf-8
Ah, learn a new name every day! I’ve seen that .. I think I own one … but didn’t know that was its name. Thanks!
I sure do have one, am looking at it right now, but it’s very awkward to use on the monitor!
Don’t you realize it’s a plot to weed out everyone over 50?
They* keep making the icons smaller and smaller and now with the micro CC updates they can make them incrementally smaller without us noticing the diabolical plot. Wired magazine has been doing this for years. I swear that the text in Wired is smaller and smaller with each issue that comes out.
*Everyone under 50
Also don’t forget the recently-added ‘UI Scaling’ option in InD prefs.
For me, on a 2560w display, the lower setting is tiny and the higher setting is too big (waiting patiently for a middle setting…)
In Windows, there’s many other settings for font and cursor sizes, but the tools/UI are all controlled by InDesign.
Note to Mac users: The UI Scaling option is only available in Windows versions of ID. There’s a panel in Prefs named UI Scaling.
Thank you – I spent an hour looking for it, and should have just read down one posting further before looking.
Please, please, please Adobe, give us the option to have larger text in the control panels! With my iMac 27, and aging eyes, I can barely read those numbers. It makes me very sad.
It would seem that Adobe does’t give a DAMN