Moving the Whole Text Wrap Separate From the Image
You may have noticed that InDesign’s text wrap feature is powerful but can be very frustrating. For example, you import an silhouetted image and set the text wrap contour to Detect Edges. The result may be close to what you want, but you often want to tweak it a bit to fine-tune the text wrap.

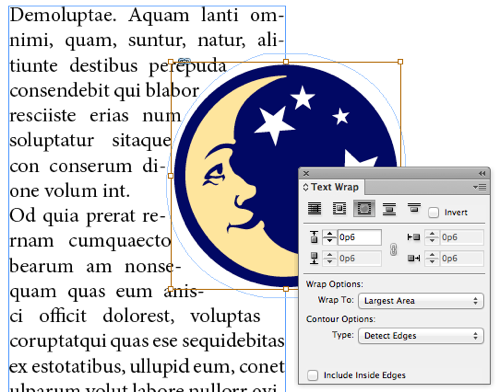
For example, in the image above, InDesign did a pretty terrible job of “detecting the edges” in this vector artwork. The text wrap is the light blue line. You can see it by double-clicking the image with the Selection tool, which selects the image inside the frame.
You can adjust the text wrap manually by switching to the Direct Selection tool or the Pen tool. When you have the Pen tool, you can add points, remove points, etc. — all the normal things you can do to Bezier paths in InDesign, but it affects the wrap.
When you have the Direct Selection (white arrow) tool, you can move points or segments on the path. But what if you want to move all the points on the text wrap? That is, you want to move the whole text wrap to the left, right, top, down, or whatever? It’s easy if you know this trick: Option/Alt-click on the text wrap path with the Direct Selection tool. That selects all the points on the path. Now you can drag it or use the arrow keys on your keyboard to nudge it in various directions.

Much better!
Now, if you find yourself doing this a lot, you might also consider using Dave Saunder’s WrapNudger software, which we talked about here.


Brilliant! Thank you, David. No more nudging one point at a time.