

Peeling Sticker FX

Here’s a little twist on one of my favorite FX techniques from the Graphic Effects ebook: how to take any image and make it into a peeling sticker.
Peeling Stickers in InDesign
1. Start by drawing your sticker shape. For an easy example, let’s try a circle. Fill it with a color.
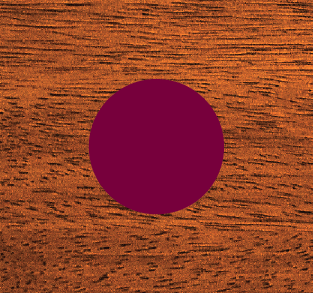
I also placed a photo of some wood to make a nice surface for the sticker to, well, stick to.
2. Duplicate the circle and set the copy aside for now.
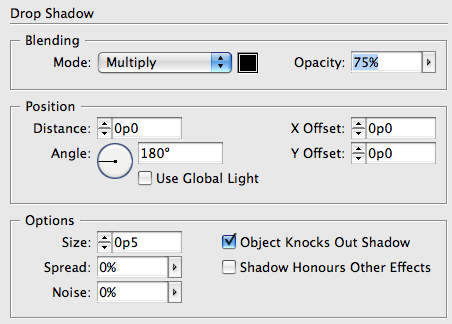
3. Give it a teeny tiny drop shadow, directly behind the circle (note the X and Y Offset values are both zero).


4. Decide where you want the peel to be. Let’s say, the bottom right. With the Direct Selection tool, click on a point so you can see the control handles.
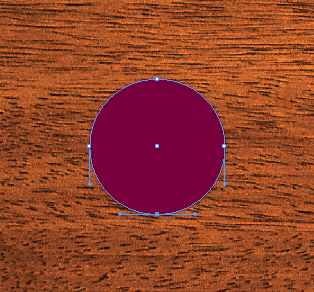
5. Click on ends of the handles with the Convert Direction point tool to snip off the handles.

6. Option/Alt drag the circle so you make a copy that overlaps the peeled area. You may want to lower its opacity or set the fill to None so you can see what you’re doing. You need to place it precisely for the illusion to work.
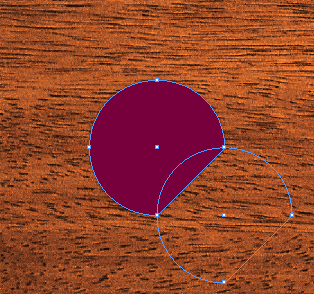
7. Cut the new copy and paste it into the sticker shape.
8. Fill the pasted into shape with a subtle white to gray gradient.
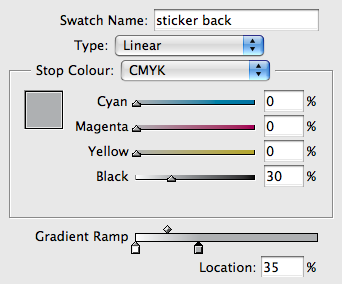

9. Drag with the Gradient tool make the gradient parallel to axis of the peel.

10. Give it a slightly larger drop shadow.

11. Then, for the peel de resistance: make some sticky glue residue where the sticker peeled off. Retrieve the extra circle you made in step 2. Fill it with white and lower its opacity to somewhere in the neighborhood of 20% (depending on the color of background). Place it between the sticker and the background image.

By grouping other items with the peel, you can also paste them into the sticker in step 7.

Tricks like this can really make your designs stick out ;)
“peel de resistance” huzzah!
That’s a great technique!
Thanks
Martin
That’s pretty slick, Mike!
David might want to set this post to “sticky” :D
Thanks guys. All us InDesign geeks have to stick together.
It’s a very appealing effect!
Personally, I find all of these comments quite tacky.
Rather than try and manually line up the turnover bit, I think you could do it precisely with the scissors tool.
Pull a ruler guide behind the circle and use this to position the scissors tool accurately (the crosshair axis changes colour as you mouseover the guide).
If you cut lower-right, then upper-right of the circle you will get a large shape, if you cut in the other order, you will get the small shape.
You would need to duplicate the circle first to create each part, and could then just flip the small bit to suit. It’s a bit of a sticky situation, but the result is worthwhile…
Cheese-
Nice tip. I admit, I often neglect the Scissors tool to the point of forgetting it’s there. I like that your tip, because quick and easy to get any size curl you want. Thanks for pointing that out.
The only bit I might add is that flipping the cut piece gets tricky if it the piece extends past the midpoint of the circle. It won’t line up and you’re back to manually dragging it into place.
Thanks, that’s really useful. I would say a slightly faster way to handle/customize the original cut of the sticky bit is to create a new empty frame, use the rotate tool to set it at an angle and position it where you want over the sticker, and then use the subtract tool to chop off that segment.
Even quicker, you could do an intersect cut with the circle and an empty rectangular frame, flip the intersect horizontally, paste into the sticker and line up (increase it’s size a tiny amount so that it’s covering the edge of the frame), and then rotate the whole thing so it’s off at an angle.
But that was pretty awesome in any case, especially the gluey residue part.
How do you do that? When ever I want to snip off a selection, either half or the entire circle disappears?!
Bo-
If this is happening in step 5, make sure you’re clicking on the ends of the control handles, not the anchor point itself and you should be OK.
I’m a dimwit. Wrong tool.
Thx for quick reply and this mega guide!