

More Fun with Custom Stroke Styles
I wanted to follow-up on the previous post, with another one that looks at a nice stripe stroke style effect.
In this scenario we’ll once again build a new stroke style, but instead of changing the stroke alignment will add a gap color to our stroke.
Doing the math
Once again we’ll start with some math…
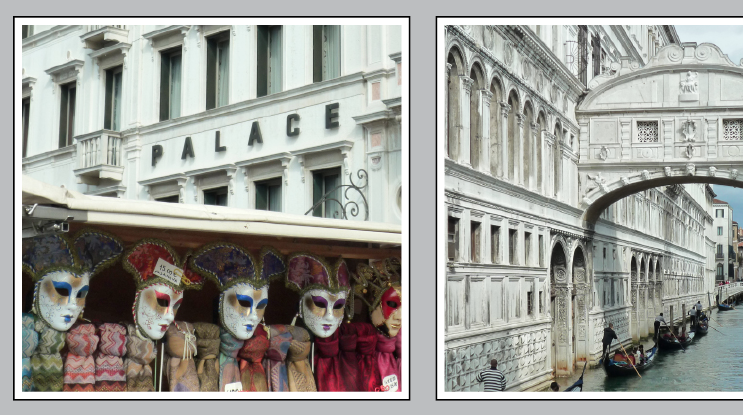
Let’s assume we want to add a 1pt black stroke on the outside and 4pts of paper (white) color towards the image.
Math time :)
- Our total stroke weight is going to be: 1 + 4 = 5pts.
- Our 1pt stroke is 20% of the total 5pts stroke weight. (1 divided by 5, then multiply by 100).
- That means our gap fills the remainder? 80%.
With the maths part completed… it’s time to start working on the stroke style again…
Building the stroke style
Display the Stroke panel, by clicking the stroke panel icon or choose Stroke from the Window menu.
From the Stroke panel menu select Stroke Styles?
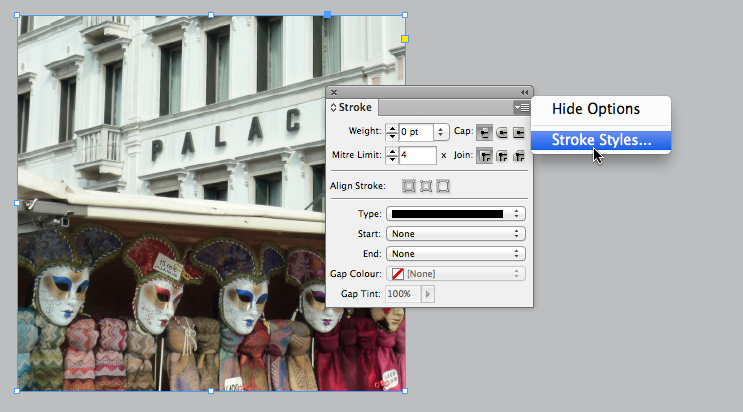
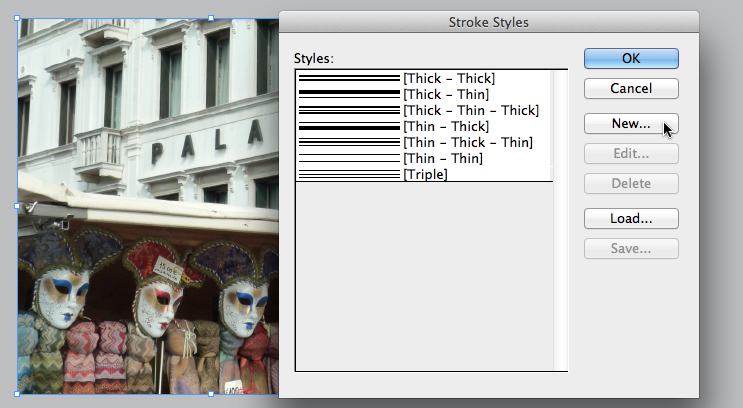
The Stroke Styles dialog appears.
Click New? to add a new style.
In the New Stroke Style dialog, enter the Name of your new style (I used ‘Gapped Keyline’).
Next select Stripe from the Type menu.
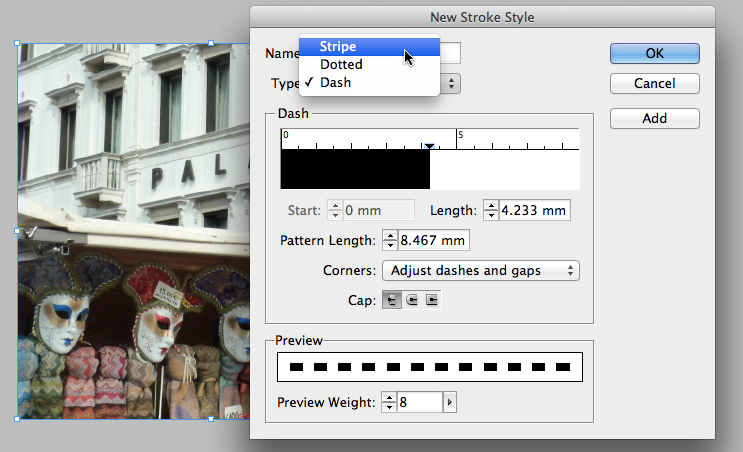
The default new stripe consists of a double stripe and a single gap. We need to remove the bottom stripe this time, once again to avoid seeing a double black stroke on our image later on.
To remove the bottom stripe, click the bottom stripe (black) to select it. The little triangles to the left appear with a blue highlight to indicate that you have the stroke selected. Next drag the selected stripe out of the Stripe part in the dialog.
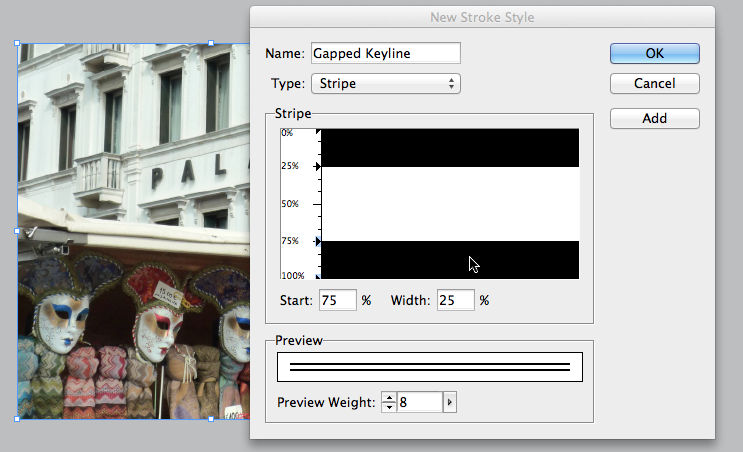
You’re left with just one stripe area (black) at the top of the Stripe part of the dialog.
Select the remaining stripe.
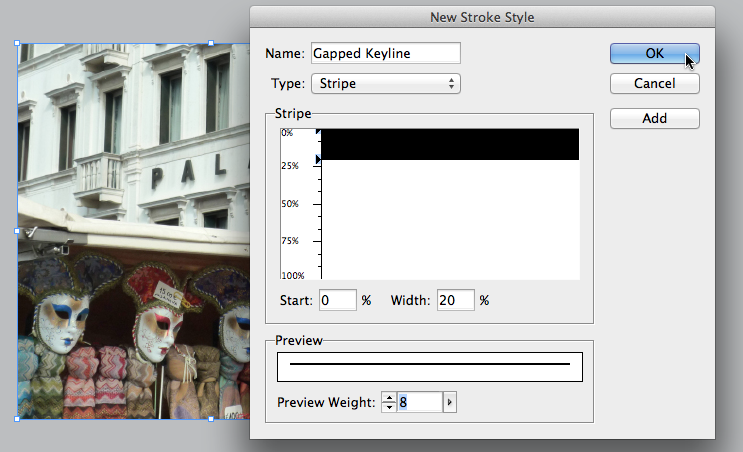
Change the Width to 20%. Leave the Start value set to 0%.
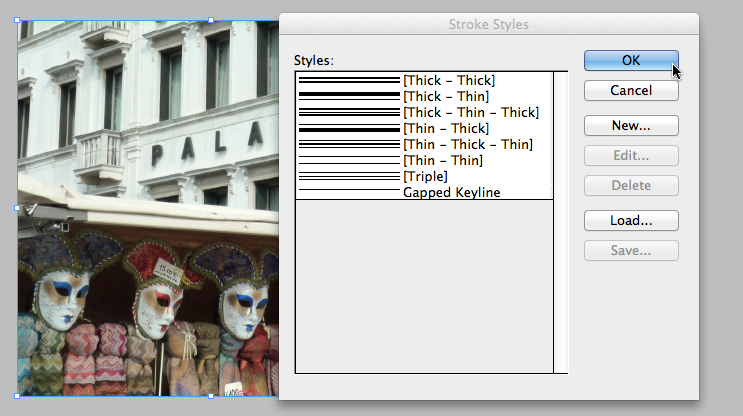
Click OK to add the new stripe to the Styles list.
Click OK once more to return to the Stroke panel and your layout.
Applying our new stroke style
Alright time to apply our new stroke style.
Select the graphic to which you want to apply the new stroke style.
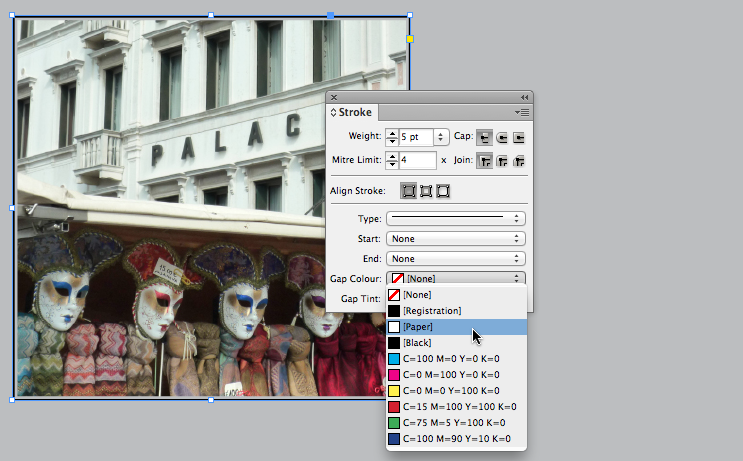
Set the stroke weight to 5pt and the stroke color to Black.

Set the Type to the newly created stroke style (Gapped Keyline in this example).
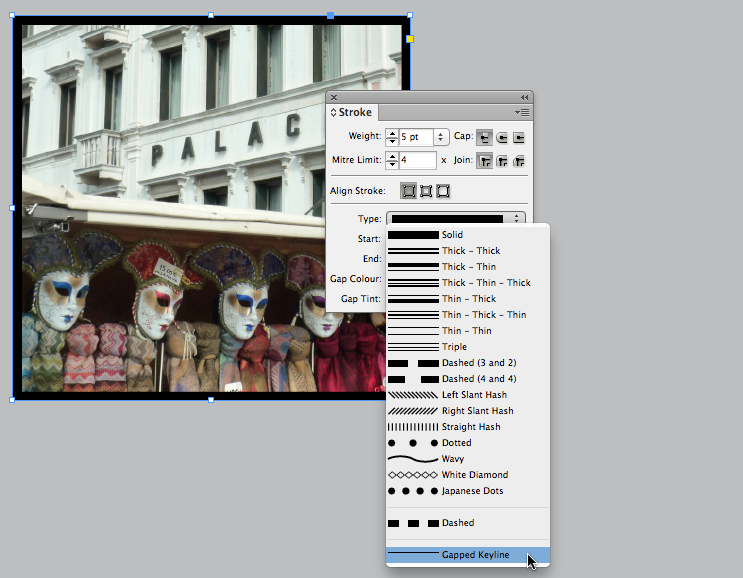
Next we change the Gap color of our stroke to Paper (white).
And we’re done :)
