

Creating Auto-Size Speech Bubbles

A while back, I answered a question on the InDesign User Forum about how to make rectangular speech bubbles that automatically resize to fit the text inside them. The person asking the question also had the requirement that the pointer part of the speech bubble not resize. Here’s the best solution that I could come up with. I call it the Resize-a-bubble.
Start by creating a text frame with the fill and stroke you want. And add some text to it with the desired formatting.

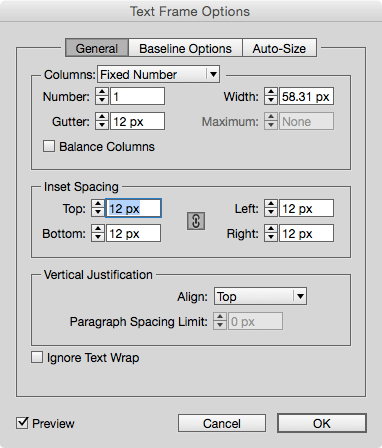
With the text frame selected, press Command+B (Mac) or Ctrl+B (Windows) to open the Text Frame Options dialog box. Add some Inset Spacing in the General tab.

Then in the Auto-Size tab, choose Height and Width (Keep Proportions) and set the frame to resize from the side where you want to place the speech bubble’s pointer.

With the Pen tool, draw a triangle for the pointer, and give it the same fill and stroke as the text frame.

With the Direct Selection tool, click on the side of the triangle next to the speech bubble. Cut it and paste in place.

Change the stroke of the line to match the fill of the speech bubble.

Extend the length of the line to fully cover the open end of the pointer.

Group the line and the pointer.

Anchor the group by selecting it and dragging the Anchored Object Control (the blue square in this case) to the start of the text in the frame.

Open Anchored Object Options by Option/Alt-clicking on the Anchored Object Control. In the dialog box, make sure the Anchored Position is relative to the text frame for both X and Y values.

You can make the pointer fit seamlessly to the frame by making the offset equal to the combined widths of the strokes that extend outside the frame edges. In this case, that value is -6 pts since there are 3 pt strokes on both the pointer and the text frame.

Note: Take care when editing text in the frame so you don’t accidentally delete the pointer by deleting anchor marker (or create extra pointers by copying and pasting the marker).
Now you can add or remove text from the speech bubble and it will resize, without resizing the pointer.

And you can quickly create extra speech bubbles by making copies and editing the text.

If you want to play around with the auto-size speech bubble or use it for your own projects, download this InDesign Snippet (works with InDesign CS6 and later).
Unironically? Non-ironically? A-ronicly? Hm.
Brilliant combination of tips to make this effect, tho!
It’s a word. Like ungoogleable or undertaining.
Excellent. And also brilliant use of cheesy stock photography! I love your sense of humor, man.
This is brilliant. I was just looking for a quick way to do auto-sized speech bubbles. This is a much better solution that what I had in mind. Thanks!
Brilliant… again!
https://www.indiscripts.com/post/2012/01/speeech
Is Marc Autret’s script for bubbles.
A gifted piece called Speeech that could be mentioned here.