

Creating a Dynamic Autofit Effect for Image Grids With the Gap Tool

If you’re like many InDesign users, you might not use the Gap tool very much. But here’s one very fun, creative way to make use of it: creating dynamic Auto-fit effects for photo grids. You can make creative collages with interesting and unexpected looks very quickly this way.
Placing your photos in a grid
Load multiple images with the Place command, then hold Command+Shift/Ctrl+Shift as you drag to place them all at once. Youe your keyboard arrow keys to change the number of rows and columns if needed.
To make the images butt up against each other, press Command+Left Arrow/Ctrl+Left Arrow and Command+Down Arrow/Ctrl+Down Arrow until the gap between the rows and columns of images is zero.
Alternatively, before you start dragging to place the images, you can set the gap between the rows and columns to zero, by choosing Layout > Margins and Columns, and setting the Gutter value to zero.

Turn on Frame Fitting and Auto-Fit
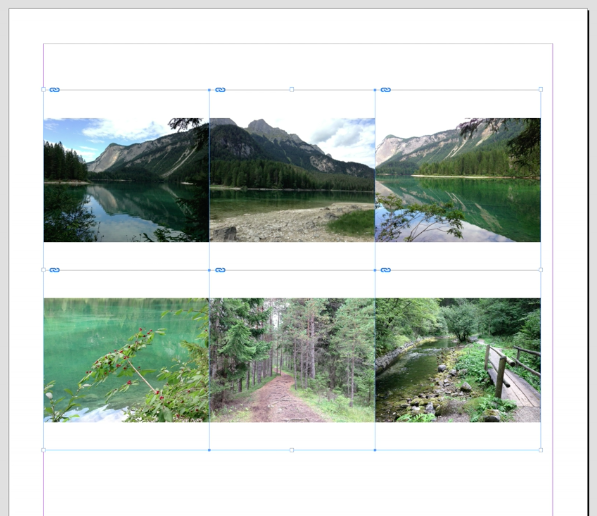
With the image frames touching, click the buttons in the Control panel to Fill Frame Proportionally and Auto-Fit.

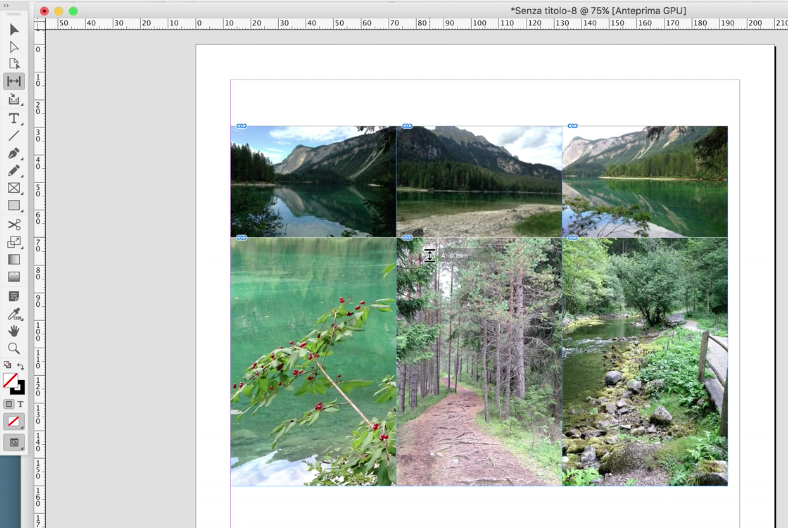
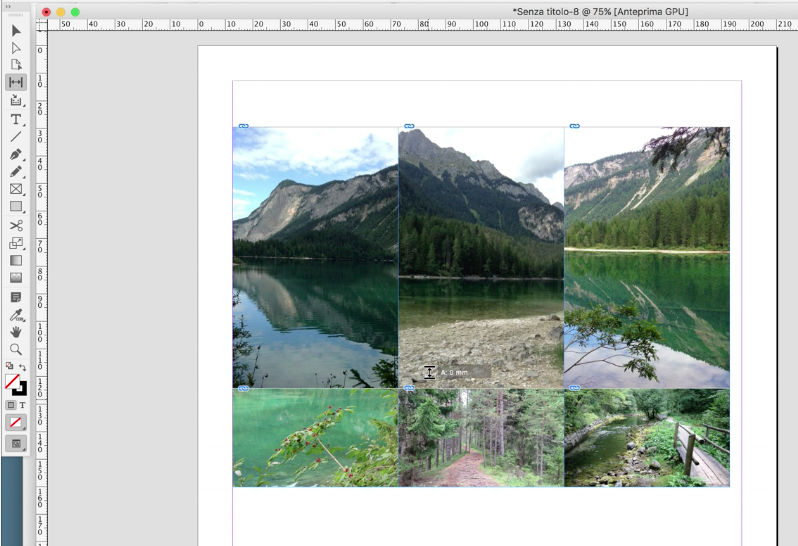
Adjust the grid with the Gap tool
Then, take the Gap tool and position it between any two images (make sure no image gets highlighted), and click and drag to resize the rows and/or columns.
Watch how it’s done
Want to see the technique in action? Watch the video below!
Thanks! Is there a way to set exactly the gap between two objects with the gap tools? I mean, holding the command and drag with the mouse i can resize that space, but it’s a bit imprecise, if i want a precise space, can i digit it?
I wish! That would make the Gap tool much more useful, but as of now, you can’t do it. The closest thing you could do is to use the Align panel’s Use Spacing option.
Thank you!
I don’t understand why you would hold down “Command+Shift/Ctrl+Shift” as you place. That is not necessary (unless I am missing a purpose here or misunderstanding). I don’t need to hold any buttons down. After I SHIFT select the images I want to place I simply click and drag without holding down any buttons. I just start tapping my arrow keys left and right to get the configuration I want for my photos before letting up on the mouse drag.
Also, if I am already holding down Command+Shift/Ctrl+Shift how do I also tap the arrow keys?
Good point, Anette. It’s not necessary, just an old school habit. But there’s no problem with tapping the arrow keys because the moment you start to drag with Cmd+Shift, you’re in Cascade Place mode, and can release those keys, freeing up your other hand to hit the arrows, take a sip of coffee, etc.
I’m going to thrown in a plug for the unknown and unloved Windows>Utilities>Tooltip Hints dialog here.
Open it up, click on the Gap Tool (or any of the other tools) and you’ll get a handy list of what different modifier keys will do when you have that tool selected. The Shift, Command, and Option keys all let you tweak what the Gap Tool does– check it out!
When we implemented the Tooltip Hints feature there were big plans for what it could become such as including help articles, cool tips (such as you apply a gradient across multiple objects or that when you split an image frame that contains an image that the image is copied into both containers or you if you select an object with the Direct Select Tool you can rotate the container without rotating the contents), videos of how to use the feature, etc. but all we were able to get in was the current list of modifier key actions that you see today.
I see that Photoshop has some cool video tooltips when you hover over different tools now so maybe some of that is in ID’s future?