

Find Characters Using the Glyphs Panel
I’m sure you’ve been in the position more than once where you needed a specific character but couldn’t figure out how to insert it into your text story. Whether it’s a degree symbol for a temperature reading, an accent for a word in French or Spanish, or a copyright symbol that needs to appear next to the copyright statement. More than likely, you encounter this situation on a regular basis. On a Mac, there are some fairly intuitive shortcuts for some of these commonly used characters compared to the more obscure key combinations required on Windows machines but regardless, who wants to memorize all of those shortcuts? InCopy as well as InDesign have a fabulous panel for accessing virtually every character within a given font in a visual way called the Glyphs panel. If you haven’t discovered this panel yet, you’re missing out and even if you have, there are some great features that the Glyphs panel offers that makes it quick and easy to access commonly used glyphs when you need them.
What’s a Glyph?
When you’re looking for a specific element within text, you typically think of that element as a character and more often than not it is. But the Glyphs panel gets its name because most fonts contain more than just characters. A glyph by definition is the shape given in a particular typeface to a specific grapheme or symbol. Usually these are letters or numerals, but they can also contain punctuation marks, symbols, and shapes. Think of a font such as Wingdings or Zapf Dingbats which contains almost entirely symbols and no letters or numbers. If you’d like to read more information about glyphs, there’s a great page on the I Love Typography website that discusses glyphs in more detail.
The Glyphs panel
The Glyphs panel can be accessed by choosing Window > Type and Tables > Glyphs or Type > Glyphs. The Glyphs panel shows recently used glyphs at the top of the panel. As you insert glyphs using the Glyphs panel, they’ll appear at the top in the recently used glyphs. The main area of the Glyphs panel shows every single glyph available in the active font and this font can be changed at any time using the font menu at the bottom of the Glyphs panel.
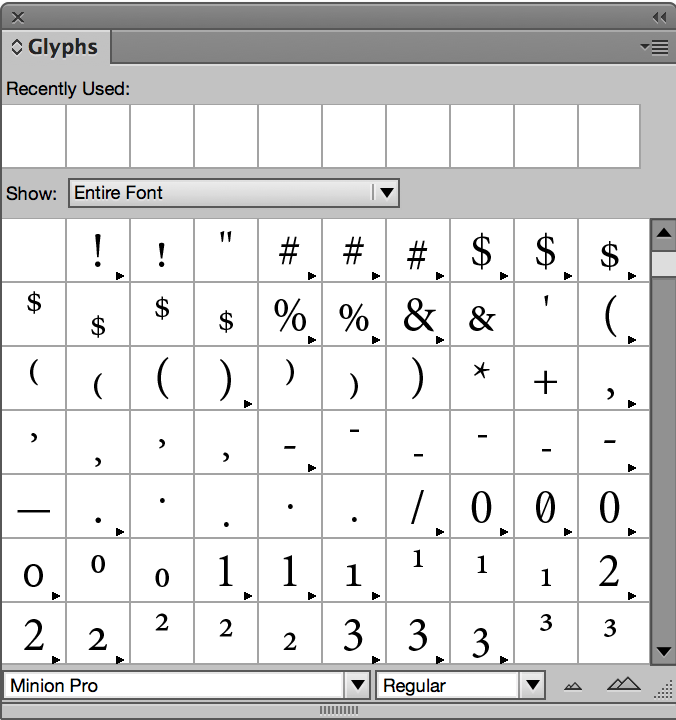
Using the glyphs panel is as simple as inserting your cursor within text where you’d like to insert the desired glyph, then double clicking on the glyph within the Glyphs panel.
Finding the Glyph That You Need
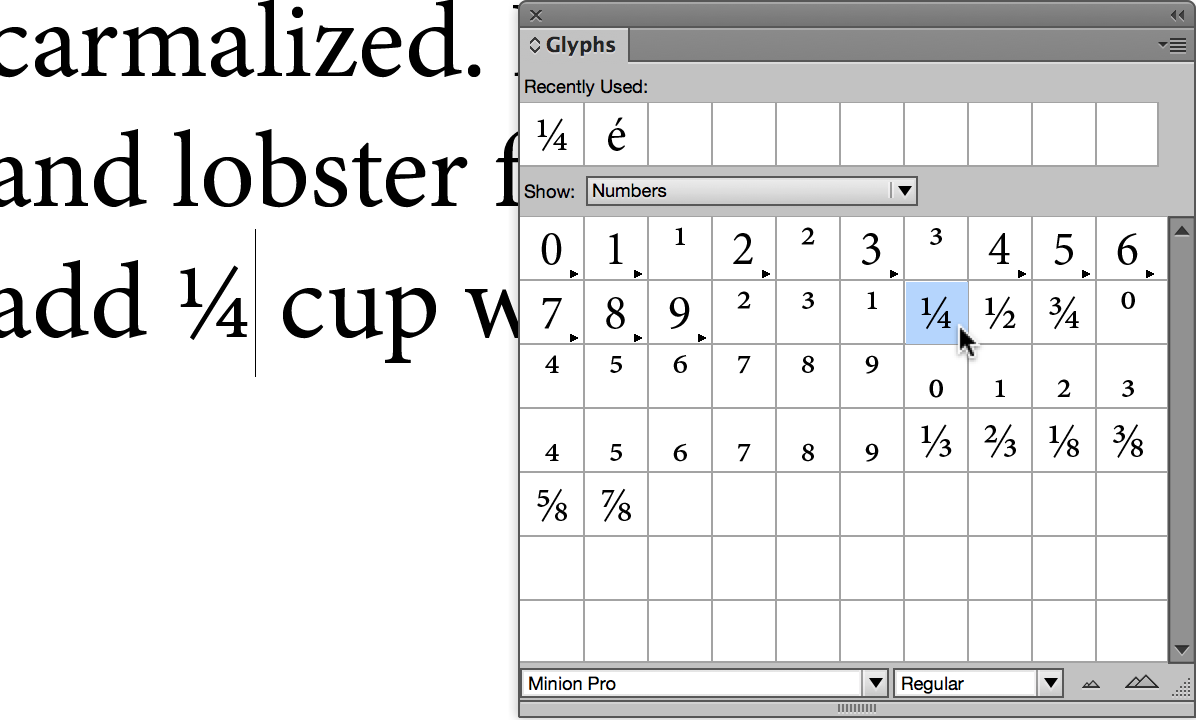
One of the challenges of the Glyphs panel is that some fonts have quite a few glyphs. This makes finding the glyph that you need a bit difficult because you have to scroll through a seemingly endless list of glyphs to find the one that you need, making it feel like you’re looking for a needle in a haystack. Fortunately, you can filter the displayed glyphs into categories to make those glyphs easier to find. In the figure below, I needed to add the letter e with an acute above it for the word sautée. By clicking on the Show drop-down menu in the glyphs panel, you can filter by any number of categories depending on the active font. I chose the Basic Latin and Latin 1 option which quickly filtered the displayed glyphs and the glyph that I needed was easily accessible.

Another good example is when you need a fraction. OpenType fonts typically contain commonly used fractions with actual numerator and denominator positioning. From the Show drop-down menu, you can choose Numbers to show all of the numeric glyphs available within the active font including fractions. A simple double-click inserts the fraction at the current position of your cursor.
You’ll be surprised how useful this panel is once you start to use it. There’s a lot more magic found inside of this little panel but we’ll save that for another post. In the mean time, give the Glyphs panel a try and post your questions and comments below!