

Holiday Text FX, part 2: Wrapping Text in Lights

As promised, here’s the second installment of Holiday Text FX. This time out we’ll try our hand/mouse/trackpad at creating text that looks a bit like shrubbery adorned with holiday lights.

Start with some text filled with a green color.

Convert the text to outlines.
Copy and paste in place (press Cmd+Shift+Opt+V/Ctrl+Shift+Alt+V).
Set the fill of the new copy of the outlined text to None. So now you have two copies of the text outlines. The one on top will serve as a mask to hold the lights, and the one underneath will be the shrubbery.
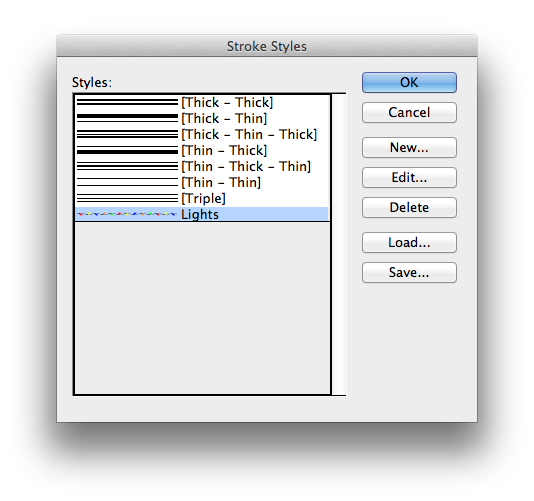
To make lights, we’re going to use an InDesign Easter egg, a stroke style that is hidden inside the program until you trigger it. Go to the Stroke panel menu choose Stroke Styles. In the Stroke Styles dialog box, click on New and in the Name field, type “Lights”.
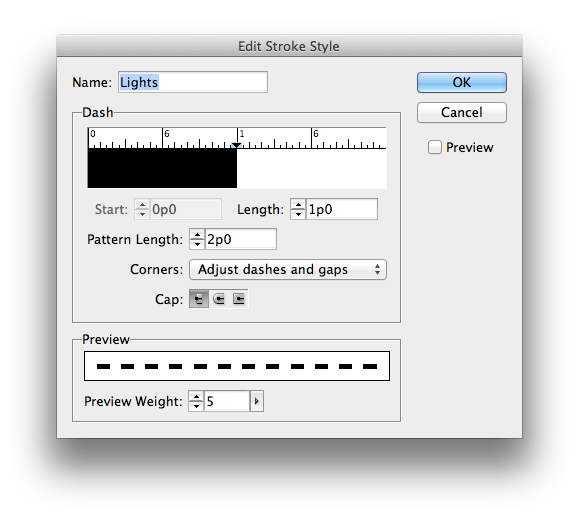
Click OK and a new stroke style is created that looks like Christmas lights.
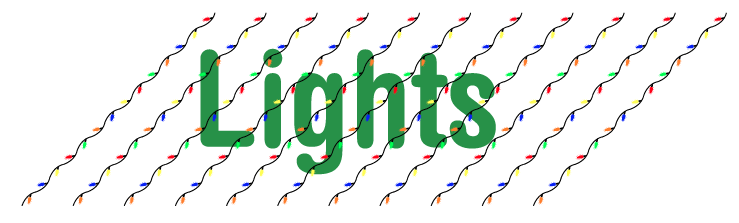
Draw a vertical line that is about three times the height of the text outlines. Give it a thick stroke (I used 8 pts). Apply the Lights stroke style. You have your first string of lights.

Set the Reference point in the Control panel to the center and use Rotation Angle controls to adjust the angle of the lights. I used ’45°.

Use Step and Repeat to make several copies of the light string, offset horizontally.
Group the lines.
Cut the group of lights to the Clipboard. Select the text outlines with no stroke and no fill and choose Edit > Paste Into. The outlines act as a mask for the light strings.

Click the Select Content button in the Control panel and use the arrows keys on your keyboard to adjust the position of the lights as desired. As much as possible, try to position the group of lights so bulbs aren’t getting abruptly cropped by the mask.
Now let’s add some more lights. Copy and paste in place the text outlines with the lights in them. Again, click the Select Content button in the Control panel and use the arrows keys on your keyboard to adjust the position of the lights until you get a pattern you like. You may also want to duplicate the outlines again to make a third set of lights, so your text looks really festive.

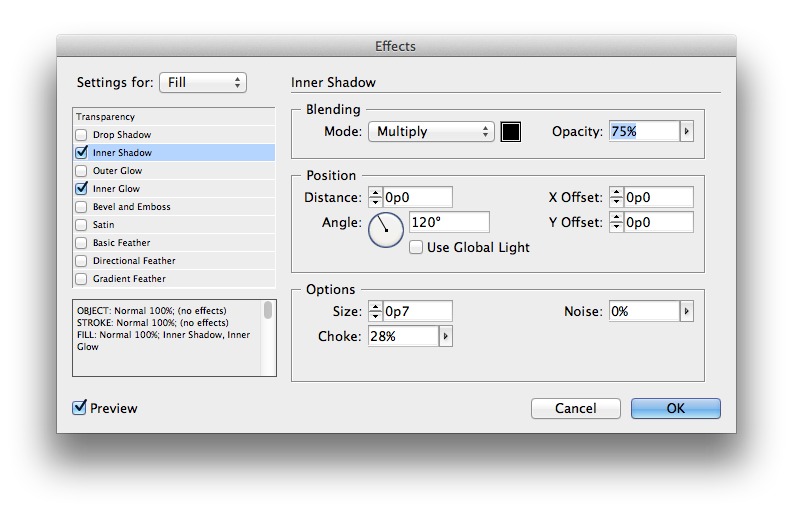
Once you have the lights in place, then it’s time to add some texture to the greenery underneath. Select the the original text outlines (the ones at the bottom of the stack with the green fill). Apply some effects like Inner Shadow and Inner Glow with a large amount of Noise to the Fill.

If you’re placing this effect on a white background, you can make the lights stick out a little bit from the edge of the text (and thereby add to the impression that they’re wrapped around the letters) by adding a thin white stroke to the green-filled text, and align the stroke to the inside.

The effect isn’t perfect, since the wires and bulbs can get abruptly cropped by the text outlines, but at a relatively small size not too many people will notice.
You can also experiment using different fonts and different angles for the lights.

OK, two Holiday FX down, one to go. I’ll be back again soon with a super easy way to create alternating text colors, which you can then spice up with a cool shiny double bevel.

I’m sorry, you just can’t do that in InDesign. ;)
(There’s a wonderful story in Alan Arkin’s Halfway Through the Door where he talks about a woman who sees something amazing and says, “I’m sorry, but if I believe that, I’m going to have to believe in all kinds of other things that I’m not prepared to believe yet.”)
I love it – yay for Easter eggs! :) I’ll be trying that out soon…
@David-
Someone once told me to “think different.” For the life of me, I can’t remember the dude’s name ;)
@Emily –
Have fun :)
It works pretty well. InDesign rules! Thank you, Mike!
Hey Mike, can you turn the lights on? Or have them blinking? C’mon dude give us some useful stuff lol
Nice job – always impressed.
Eugene-
I made ’em blink years ago: https://creativepro.com/deluxe-holiday-lights.php
;)
I stand corrected… :P
Wow! I’m so embarrassed to admit I didn’t realize we had any power to edit stroke styles in InDesign. I’ve been going to Illustrator and bringing them into InDesign as placed objects or copied paths. Thanks for opening my eyes!!
this is so incredibly fun! such a light at this dark time of year; thank you thank you thank you!!!
Mike, this is amazing! I’ve been playing around with this all week! Thank you for showing us.
Loved these tutorials. Had so much fun with them. Wish I’d found them before the season so I could have done my own cards!
lots of fun, thanks!
Hi, I know…I’m eight years to late, but the latest version of InDesign CC doesn’t have this Easter Egg anymore. :-( Is there any place to download this feature as an add-on?
Never mind…it worked today. :-)
I have the latest (dutch) version of InDesign. Is it also working in this version. I don’t find it.