

How to Draw Concentric Shapes

Okay, I’m a little late for Pi Day, but here’s a cool geometric drawing tip.
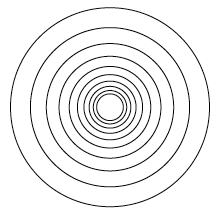
Have you ever created a design element with multiple concentric shapes? One way you can do it in InDesign is by transforming a shape, scaling it up or down, and repeating the transformation. But transformations are percentage based.
That means that if you repeat transformations, as your shapes get larger or smaller, so will the difference in their sizes. You’ll end up with a series of concentric shapes that get farther and farther apart the larger they get.
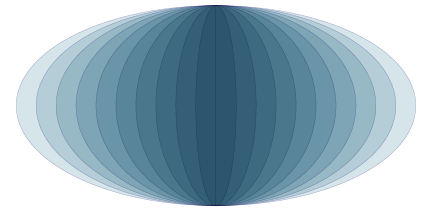
But what if you want equally spaced concentric shapes, like this?
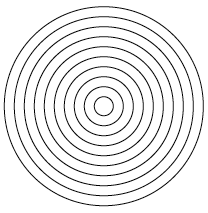
Is there a quick and easy way to do this? Would I be writing this post if there weren’t? ;)
One trick is to use the width and height fields in the Control Panel, along with some keyboard shortcuts.
First, consider your unit of measure. For this trick, an easy unit to work with is centimeters, but anything other than inches works (with some minor adjustments).
You can quickly change the unit of measure for a document by right-clicking on the ruler origin to show the pop-up menu

or click on the cross-hair on the Info panel
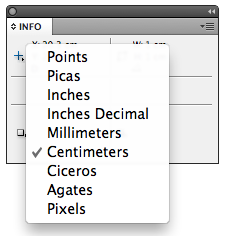
or cycle through units with the keyboard shortcut Command-Shift-Option-u/Ctrl-Shift-Alt-u.
For starters, try a circle. If your unit of measure is centimeters, start with a 1 cm diameter circle. Don’t worry if you need a different size, you can change it later.
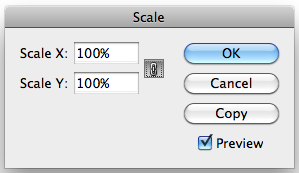
In the Control Panel, set the reference point to the center, and click the button to constrain width and height.
![]()
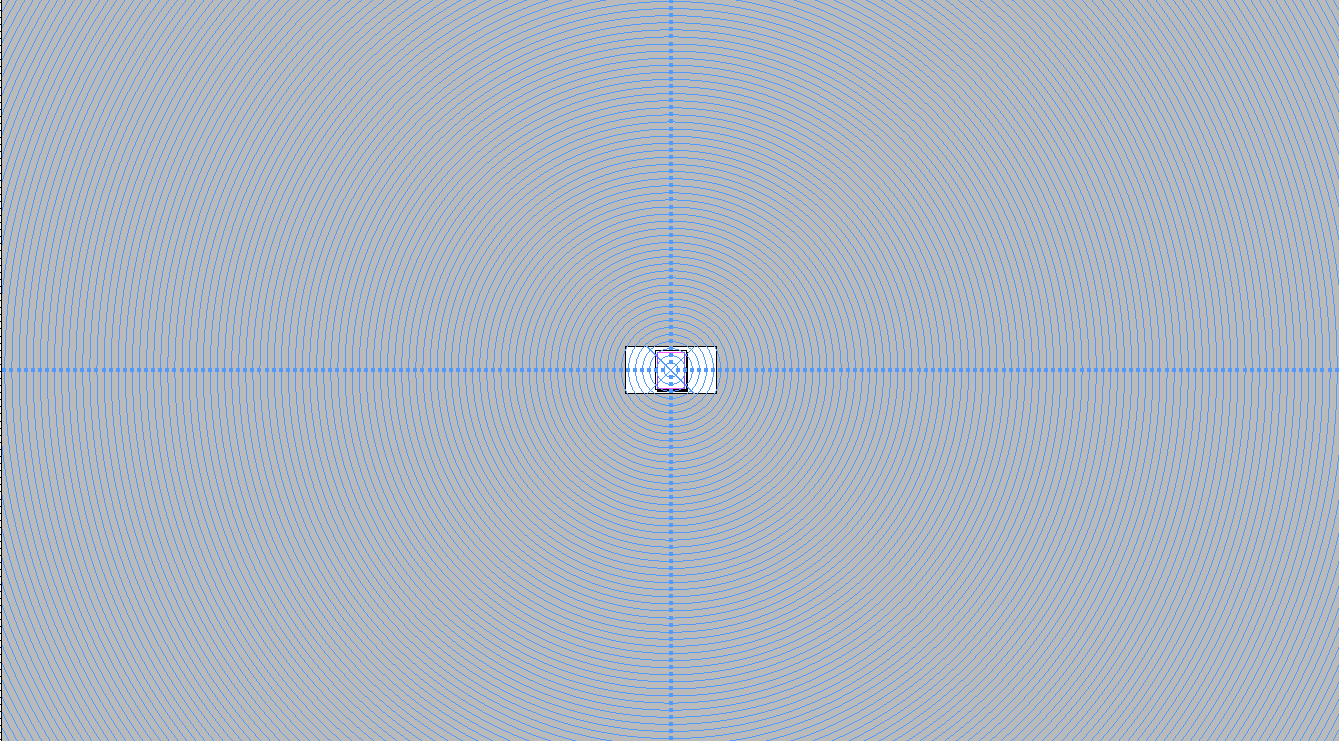
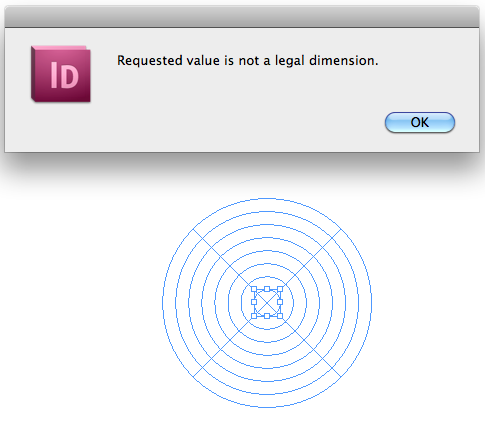
Click on the W or H to highlight the width or height. Then hold the Option/Alt key and press the up arrow as many times as you like. Each time you press the arrow, you’ll make a copy that is exactly 1 cm larger in diameter. Make as many as you want—InDesign seems to let you go on forever. I got tired of holding down the keys after my largest circle was over 100 feet wide. Yes, that tiny thing in the middle is my pasteboard (click the image for a bigger view).
When you have all the circles you want, select them and use the Control Panel to size them as needed.
What if you want to use another unit of measure? You can do the same trick if you’re using picas, but you’ll need to hold down Shift and Option when you press the up arrow in order for each new circle to be one pica larger in diameter than the previous one.
If you’re working in points or pixels, you’ll need to make a little adjustment to the method above, since your initial object would probably be too tiny to work with. Ever try making a 1 pixel polygon? It isn’t much to look at.
So with points or pixels, just make your initial object 10 times as big as your unit of measure. For example, start with a circle 10 pixels in diameter. Then, hold Shift and Option when you press the up arrow. The shift key increases the keyboard increment by a factor of 10 for pixels and points. Again, when you have as many objects as you want, you can size them however you like.
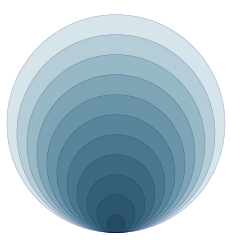
Another thing to consider is the stacking order of the objects. Each new object is stacked on top of the older ones. So if you’re going to give the objects a fill, you’ll need to start with the largest object and make smaller copies. Otherwise the largest object will hide all the others (unless you get tricky with opacity or blending modes, but that’s another story).
To make a series of increasingly smaller copies, let’s start with centimeters again. Start by deciding how many objects you want. Then make that number the size (in centimeters) of your first object. For example, if you want 8 concentric circles, make your first circle 8 cm in diameter. Then hold Option/Alt and press the down arrow until InDesign tells you it’s time to stop.
If you’re working with picas, pixels, or points, follow the directions above about using the shift key and 10x increments.
Then start playing around. Once you get the hang of working with regular objects, you can experiment with oddly shaped ones.
Change the reference point so the shapes are no longer concentric.
Try unequal scaling of width and height.
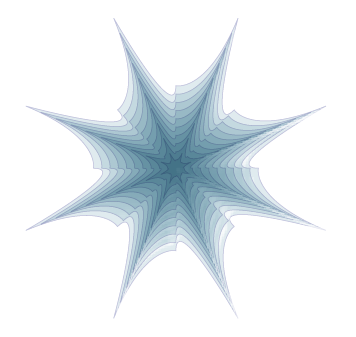
Rotate and copy the shapes. You can make some intricate shapes very quickly.

Now you have the tools to finally make that InDisco Ball you’ve always dreamed of.
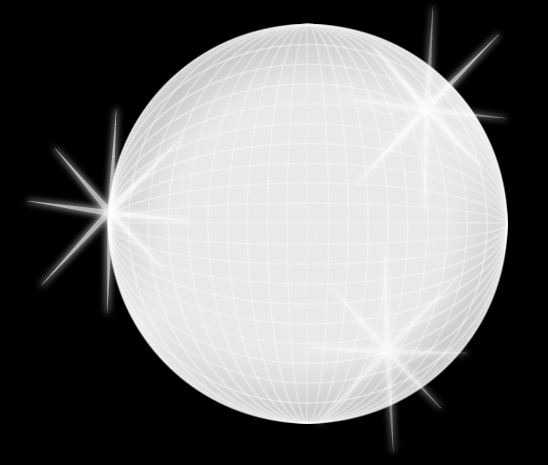
You never dreamed of that? Oh wait, that was me. Nevermind.
The Alt/Option click on the Width and Height is truly an InDesign Secret. I’ve pointed this out to several people over the years and they get all giddy about it. Thanks for showing the great power this can have and some lovely examples on how it can work best!
Thanks, Eugene. What I like about these things is they are as easy to make as they are fun to look at. You can really use your imagination and have some fun.
Great tip, I never realized that you could opt/alt click inside the transform panel. It makes sense and now seems obvious, but I never tried it.
By the way, you might want to have a lawyer look into the legal problems you are having with dimensions. You probably received that warning for trying to do your taxes with InDesign:)
It couldn’t have come sooner, Mike. I was asked to a disco ball for something and was planning to do it over the weekend. I was going to go into Illustrator and mesh up a circle. But your disco ball took seconds to do with this technique, and it’s not something I would have hit on straight away!
Eugene-
That’s awesome. If you do the ball in ID, you can definitely improve on mine, which I did without looking at any real ones. Make the horizontal lines parallel, or only slightly curving. And you might want to cheat at the sides to make the last few lines closer to the edge to give it a more 3D feel.
Lovely tip Mike
@Mike –
An easy way to improve your disco ball would be to group your horizontal lines shapes, scale the groupe horizontally say, 500%, the cut that group and paste it inside your biggest circle. That’ll give you slightly curved lines with a almost-horizontal feel to them, yet constrain them to the diameter of the ball. Voila, instant cheat. :-p
Note : the 500% is eyeballed, I didn’t actually test it. Also, it might be worth it to shift the group inside the circle vertically to enhance the 3D illusion.
Really Amazing!
nice article, i like very much this kind of designs and they opportunity to be made in very different shapes and graphical concepts.
Another fast and easy way to draw concentric shapes that vary by a set amount is to
1. Set up your Document Grid (Preferences>Grids) to be the same as the desired amount*
2. Turn on Show Document Grid and Snap to Document Grid
3. Pick a grid intersection and, while holding down the Option and Shift keys, drag out shapes until they snap to the Document Grid at the size you want.
4. Repeat for as many shapes as you like.
If you don’t want the shapes to be symmetrical don’t hold down the Shift key when you draw the shapes.
*If you want the shapes to have a gap of exactly 1p7, for example, set the Gridline Every fields to 1p7 and the Subdivision fields to 1.
I am using InDesign CS5 on Windows copy…… the problem I am facing is after selecting the circle, I click on W field and then hold Alt key and then press up and down arrows…… this causes the Y coordinate to shift even though the W is selected….. please could you help me with this problem???!!
Ankit-
It sounds like the reference point in the control panel is set to one of the top or bottom points. Try setting it to the center before you press the up/down arrows.
I am still facing that same problem again….. there is no effect when i have made the center point of reference selected….. it still duplicates the circle in downward direction rather than making concentric circles….:(
Great tip; I love it! Thanks.
I am having the EXACT same problem as ANKIT describes above. I have InDesign CS5 (PC). I have the ref. pt. centred, 1 cm x 1 cm circle, wxh constrained. So I click on the W (or the H) and hold ALT and UP or DOWN and it just repeats it upwards (same size). Cannot get it to scale up (or down) in size. I have read over the tutorial 8 times now. No luck. Is this a CS5 issue?
Lisa-
I don’t have a PC handy so I can’t test to try and replicate the problem you’re describing. But the behavior (creating same sized copies at different XY coordinates) is what I’d expect if you highlighted the XY fields in the Control panel and not the WH fields. It’s not a CS5 thing because I’ve done it in CS3-5, and I suspect it would work the same back to InDesign 1.0.
Can anyone on a PC confirm this trick works? If not, I’ll re-brand this as a Mac trick.
@Mike– Someone on Facebook just told me. It’s the arrow up on the control panel next to the dimensions NOT the UP arrow on my keyboard which is what I was doing wrong. Now it works. Perhaps you could add clarification in your tutorial for future dingbats like myself. ;)
Social media to the rescue! Glad it’s working for you Lisa. :)
Works as advertised in Windows. I suspect Lisa is not clicking on the WH sizing arrows, but clicking in the W or H box and then using the keyboard arrows. This gives the behavior she is describing.
To those who are having issues on Windows, make sure that the W & H Lock is locked (the chain link is linked). Hold down the alt key and use the up and down arrows next to the W & H fields that you’ll get the desired effect.
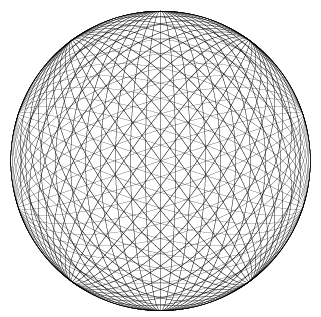
Mike, great tips. Just a quick question: why do you say that inches won’t work for this? I just tried it out myself and it worked just fine. I made that sphere thingy just above your disco ball image. On my system a “regular” arrow changes it by 1/16″ and a “shift-arrow” changes it by 1/4″. Works just fine, you just have to know what to expect from your increments.
Thanks!
What if you want to draw concentric equidistant ellipses. Is there an easy way?
@Kenneth: Definitely tricky… can’t think of any easy way to do it.
I found this post because I needed an easy way to make concentric ellipses that were equidistant. (Equidistant was what was important to me, not maintaining ratio.) I started with the center ellipse and Alt clicked the width (with constrain W&H off). Then with the new oval selected also incremented the H by one.
Doing it in 2 separate steps insured that they are scaled by 1 cm in all directions rather than scaling W 1 and the height proportionally. They get rounder the farther out you go. Heres an example: https://imgur.com/ujIB2Xf (makes me think “thats all folks!”)
Thanks for the post!
I have the same problem, I will explain step by step
1. I drawn the circle
2. I check the reference point in the middle
3. now I hold the Alt key and press the up/down arrow it works in X/Y coordination only not the W/H
I try this version 5.5 and 6 PC version both had same problem I think the PC version InDesign had some bug
Can you explain me
If I were to create a heart shape and then want to increase it a number of times by exactly 4mm all the way round. How do I then keep the shape. The curve going into the heart does not keep the exact dimension. I have tried various methods but they all do the same. Squares and rounds are ok but not inward curves.
Hi Marina-
Yes, you’re right, shapes like a heart won’t work with this tip. I haven’t been able to think of a quick way to work with shapes like that since any kind of scaling or sizing won’t give you equal spacing all around. The only thing I can think of is to have several copies of the object stacked directly on top of each other with different stroke widths (and all strokes aligned to the outside). It would be tedious for anything more than a few objects, but it could be done. I’ll make a note to write it up in another blog post.
There is one other option: A marvelous script written by Olav Martin Kvern that he demoed at the CreativeWow event at PePcon: The Print + ePublishing Conference, a couple of weeks ago. We’ll try to get that written up and published soon.
Hi. This is very useful..thanks.
However how do i achieve larger increments of concentric shapes? If i want shapes 20mm apart from each other, how do i set this up?
Also when creating a round corner square, its concentric shapes are not actually equal to each other, with the radius edges showings a fatter than the side edges.
Any advice would be great asap :)
Simone
Hi Simone-
What I would do if I needed concentric shapes 20 mm apart is select the starting shape, and make sure mm is your unit of measure. Then go to the W/H controls in the Control panel, make sure they’re constrained. Then type “+20” after the current value in either the Width or Height field. Copy the “+20” then hit Option/Alt+Enter. This will make the first copy. Your cursor will still be in the Control panel and the new object will be selected. So just press Cmd/Ctrl+V to paste the +20 into the field and again press Option/Alt+Enter. Repeat as many times as needed to create all the objects you want.
Sorry, I don’t know a good way of dealing with rounded corner issue you mentioned since you’d need to adjust the corner radius on each new object.
I have tried all sorts of methods to make up 23 tiers and each being 4mm apart of a heart shape as well as an Africa.
Does anyone know what is the best way/settings when converting a shape from Illustrator to CAD? I generally make the design in InDesign… take it into Illustrator… then convert it in there as InDesign does not have a CAD option that I’m aware of. I know I can make it in Illustrator but prefer working in InDesign.
See this post about using InDesign as a CAD design tool: https://creativepro.com/indesign-cad-tool.php
Thanks Mike, this is great stuff here, nicely laid out :)
Do you know of a way to add values, to turn it into a concentric circle pie chart, that can still change shapes like you demonstrated above.
I’m trying do some math charts, which is interesting stuff if your into that sorta thing.
Thanks for your help
Nick
Hi Nick-
Thanks. If I’m picturing what you want, then I think you should look into the Chartwell font. It can do “ring” pie charts, and a whole lot of other stuff. https://creativepro.com/creating-instant-charts-with-chartwell.php
Is InDesign a program to purchase? Where is the keyboard to set the parameters for concentric circles? I cannot find this information on this website.
Thank you.