

Making Custom Borders With Type on a Path

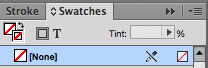
InDesign has a pretty limited set of Stroke Options (Figure 1) compared to her sister, Adobe Illustrator, and of course you can make custom strokes (Figure 2), which is pretty limited, dull and boring!

Figure 1
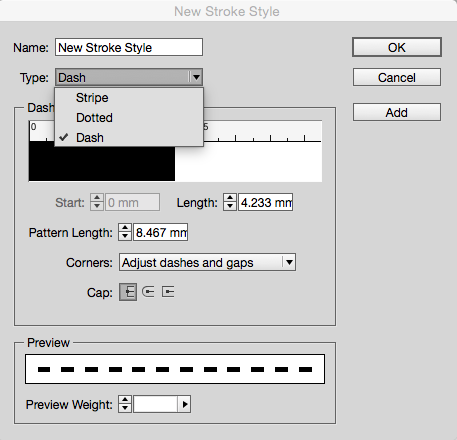
Figure 2
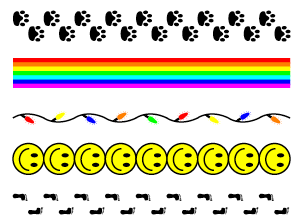
There are extremely fun hidden InDesign Secret Strokes, which can be found here and look like these:
But what if you wanted to make something a bit different?
I know some of these look similar, but I’m just using them to illustrate the technique, rather than my amazing design skills.
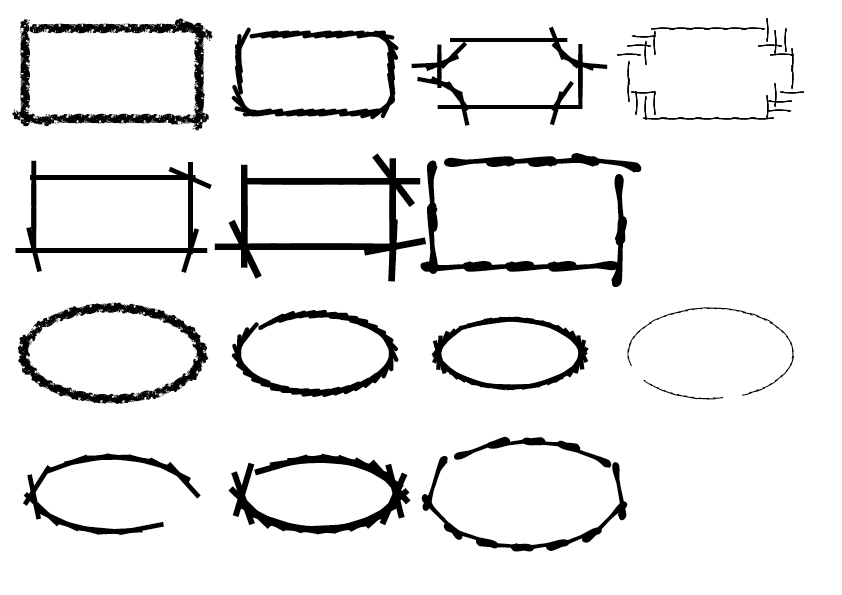
Usually you’d pop on over to Illustrator to make something like these, but sometimes you don’t have access to Illustrator, or you want something that stays only in InDesign, or you just need a custom fun stroke for a one-off piece.
So, how would you go about doing something like this in InDesign?
- Draw a text frame
- Make the Stroke and Fill set to none
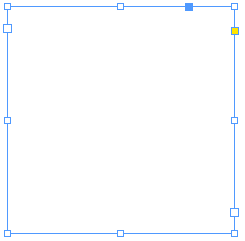
- Select the Type on Path tool (press and hold on Type tool, more here)
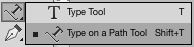
Click the edge of the frame when the cursor turns to this icon:

- Insert a bunch of underscores (________) (or some fun glyph).
- Select your desired font (preferably a fun font like a symbol/dingbat font, chalky font, or bamboo, grass font, etc.).
- Once you have filled the frame edge with the font, increase the size, decrease the tracking, and justify to your liking).
Additional Tips
Don’t be afraid to experiment with different letters, and use the Type > Type on Path Options to achieve different effects.
Since your new border is made of text, you can color it anything you like. For example, this colorful display was created the letter “I” from a font called “Infected” (available for personal use). Using Type > Type on Path Options, I selected the Gravity setting, which skews everything as if it’s being pulled to the center.
Using a colorful Paragraph Style, and Nested Styles I created these, which would be perfect for a BBQ party frame, a colorful frame for a photo, or a sweet shop (candy store) or whatever you can imagine it to be.

I look forward to seeing what people can come up with. And if you can improve on this technique or have additional advice I look forward to reading all about it.
Enjoy!
I tried doing the multi-color nested style, but it stopped after one set. Is there a trick to make it repeat?
Hi Handseb – excellent question. When you select New Nested Style button in the Dialog Box, you will see an option for [Repeat].
Selecting this, it defaults to a value of 2 – where that means it Repeats the last 2 styles. So you need to change this value to however amount of styles you would like to repeat.
that works – thanks!
Eugene, here’s another example: a combination of striped stroke and type on path (underline and strikethrough)
https://vimeo.com/129816580
Hi Roland that looks great! Well done.
I was able to make a pretty cool border by reducing the tracking to -250 and the Horizontal to 25%, and using a variety of characters and symbols. But I can’t seem to close a little gap and close up the border?
You could try some of the text justification options.
One thing I noticed that it was hard to join up the corners if they weren’t rounded corners, so try setting or adjusting the rounded corners.
Hard to tell though without a visual, but let us know how you get on! :)