

Tip of the Week: Moving Gradient Swatches Between Illustrator and InDesign

This InDesign tip on moving gradient swatches between Illustrator and InDesign was sent to Tip of the Week email subscribers on February 8, 2018.

Sign up now and every week you’ll get a new tip, keyboard shortcut, and roundups of new articles, plus exclusive deals sent right to your Inbox!
Just scroll down to the bottom of this page, enter your email address, and click Go! We’ll take care of the rest. Now, on with the tip!
Creative Cloud libraries are great for sharing assets like color swatches with colleagues (or just for reuse in other applications in your own workflow). Unfortunately, you still can’t save a gradient swatch to a CC library.
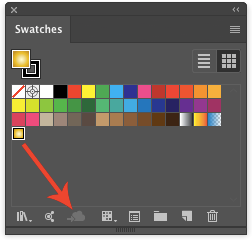
Just try selecting one, and the the Add Swatch to CC Library sadly fades to gray.
This means that there’s no quick and easy way to use all the cool gradients that come with Illustrator in InDesign.
But this old school method still works:
1. Create a new Illustrator document in CMYK color mode (this trick won’t work if you have an RGB Illustrator document).

2. Use the color libraries button at the bottom of the Swatches panel to locate the gradient(s) you want.

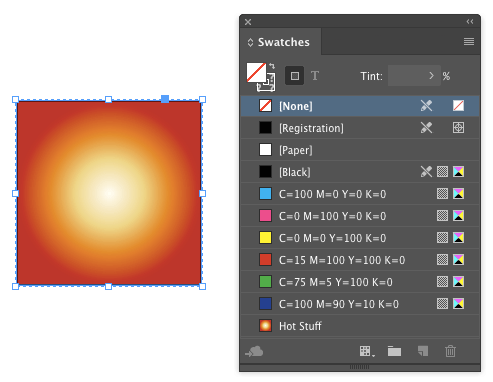
3. Apply the gradient(s) to objects on the artboard.

4. Copy and paste the object(s) into InDesign. The gradients are added to the Swatches panel. Unfortunately (there’s that word again), the new gradient names are generic. So you you’ll have to rename them manually to something more descriptive. But at least you’ll have them at your disposal to format objects in your layout.

Want to get a gradient from InDesign into Illustrator? Here’s how:
1. Copy the object formatted with the gradient in InDesign and paste it into Illustrator.
It will come in as a clipping group.
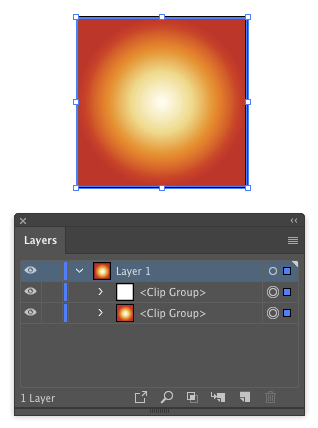
2. Double-click it with the Selection tool to enter Isolation Mode. You should see the gradient in the stroke/fill proxy in the Toolbar.

3. Click the New Swatch button at the bottom of the Swatches panel and given your imported gradient a name.

An excellent “oldie but goodie” tip!
Thanks, Steve. I’m surprised we still have to resort to workarounds in 2018, but there must be some underlying problem in the way gradients work that makes them such a challenge to move around.
If I were to guess, it would be differences between the way Photoshop stores gradients vs. the way InDesign and Illustrator do. The Adobe Swatch Exchange limited itself to things that could be easily represented in each of those three applications. Gradients were apparently a problem. And that, unforunately (there’s that word again), has carried over to the way the engineers have handled things stored in CC Libraries.
Why does this method only work with CMYK colours when moving from Illustrator to Indesign?