

Using Illustrator Artboards to Place Versioned Content in InDesign

In this article, we will look at how to use the multiple artboards feature of Illustrator for placing different versions of a piece of art in InDesign. As you’ll see, it can be a very useful alternative to using Illustrator layers and layer overrides in InDesign.
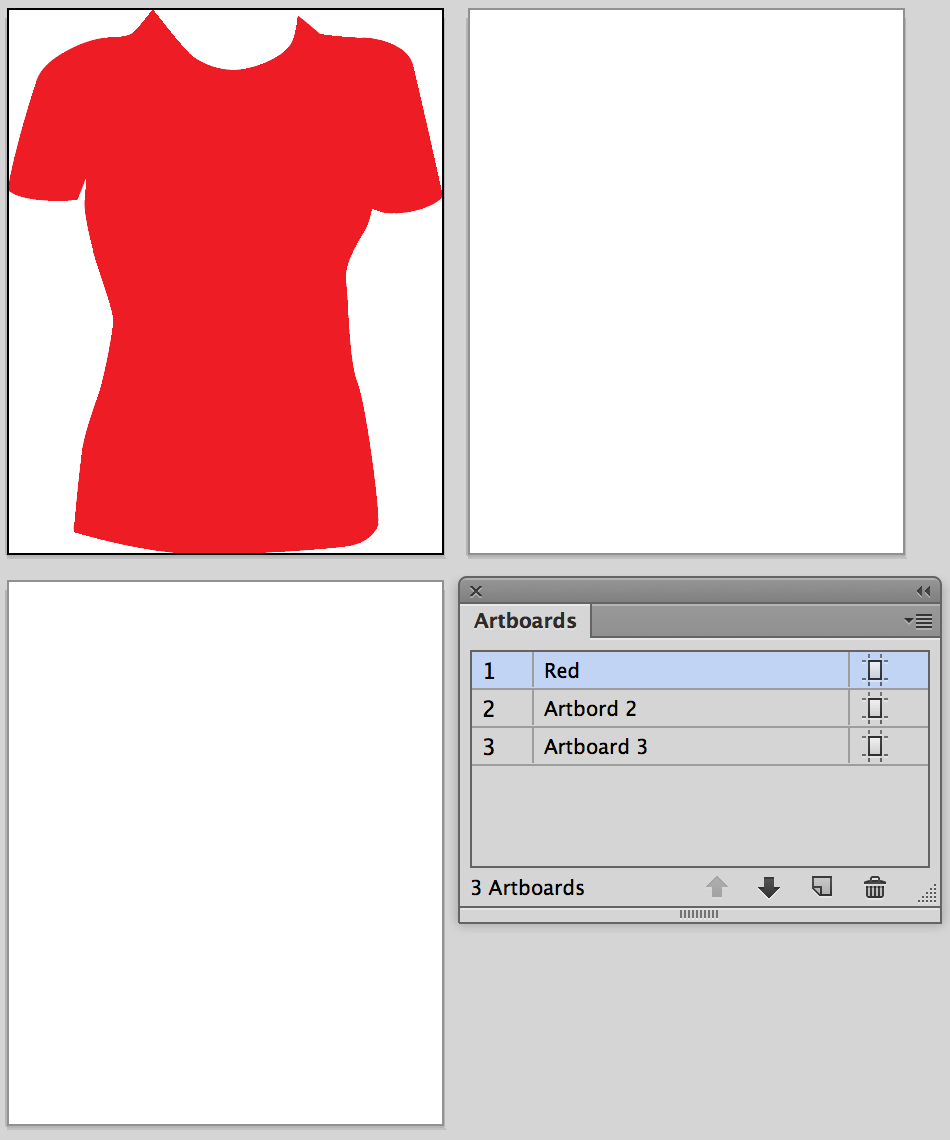
In Illustrator, we’ll start by creating a document with three artboards. We want to work on a shirt design and create three color variations of the shirt.

Like the Page tool and Pages panel in InDesign, there is an Artboard tool and Artboards panel in Illustrator. We’ll be using these while working on this shirt design.
I create the design of the shirt on the first artboard. I’ll rename the artboard, which can be done in two ways: first, when you select the Artboard tool, the name of the active artboard is shown in the Control panel where it can be renamed, or you can double-click the name in the Artboards panel and edit it there.
Artboard Name in Control panel
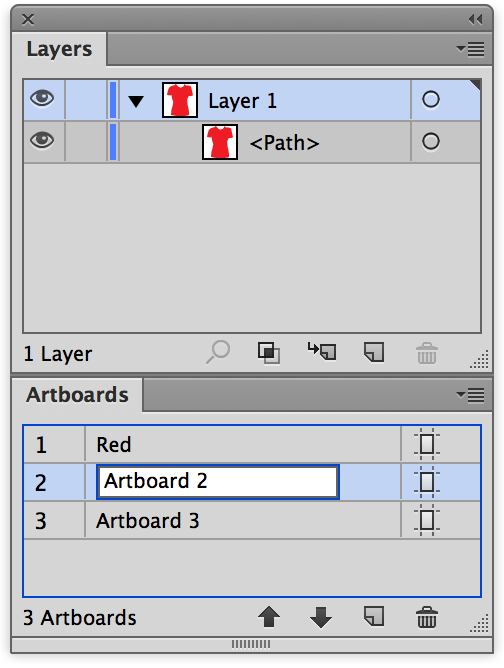
Naming in Artboards panel
I select everything on the artboard by choosing Select > All on Active Artboard, switch to Artboard Tool and choose Fit to Selected Art from the Presets list in the Control panel.
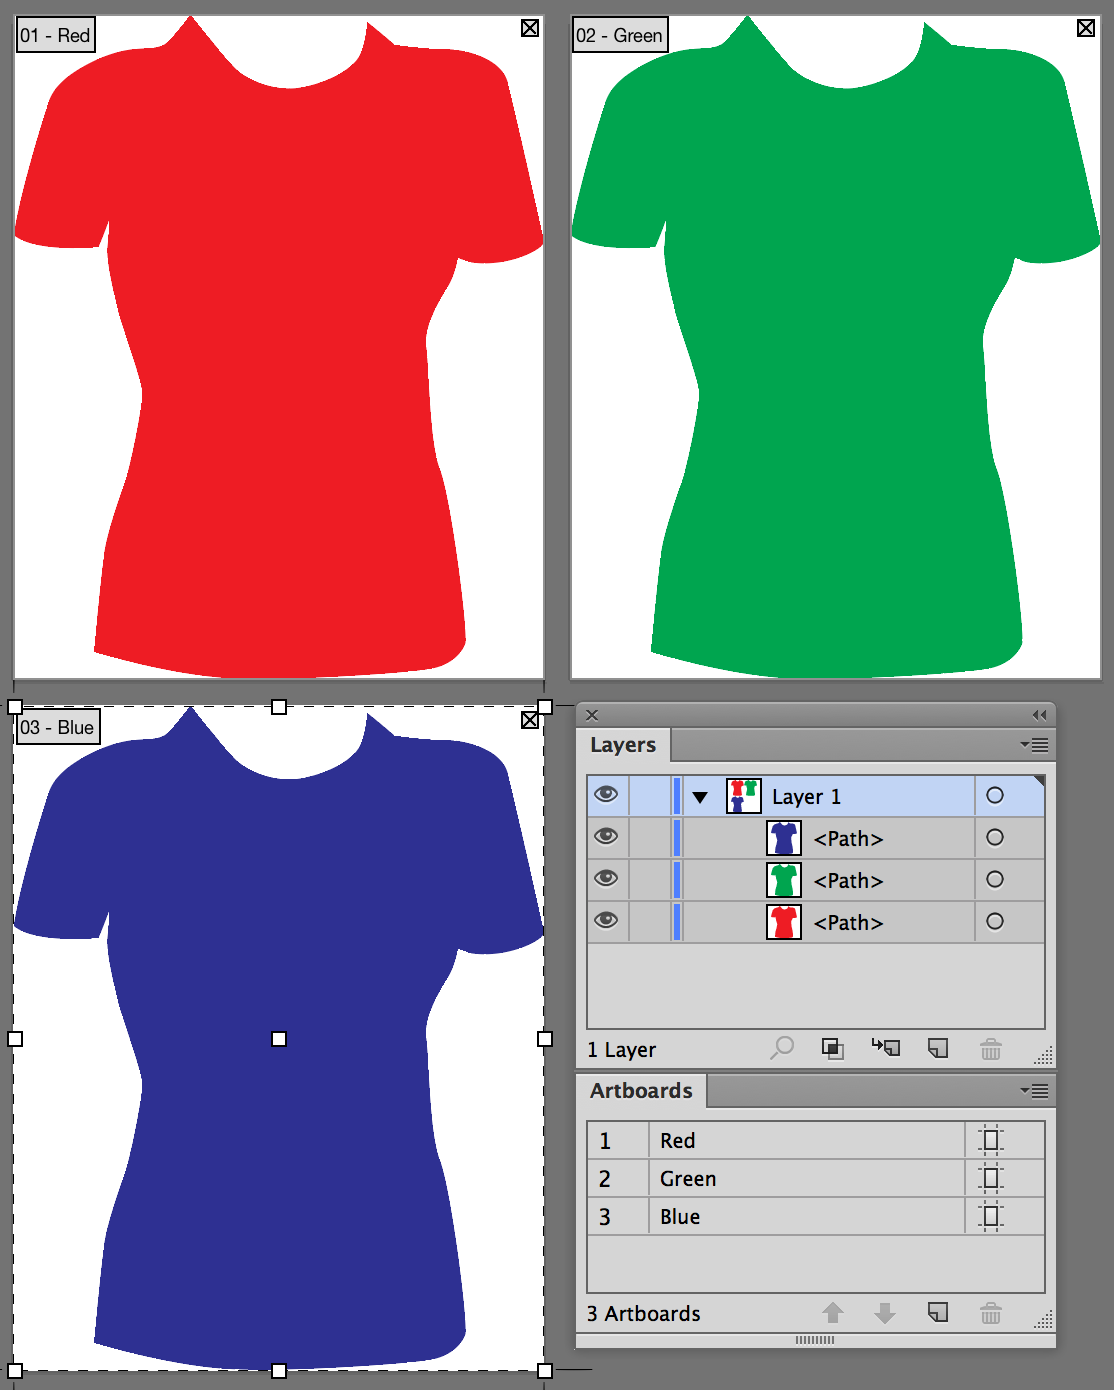
With the shirt still selected, I choose Edit > Cut, and then Edit > Paste on All Artboards. I change the color of the shirt on the other artboards and then rename the artboards. Later on, we’ll see why it’s worth taking the time to name your artboards properly. You can also choose Rearrange Artboards from the Artboards panel flyout menu to tidy up the layout of your artboards.
Now let’s save this Illustrator document to take it into InDesign. Here we can take two slightly different approaches:
- Save with default options
- Save each artboard as a separate file
Saving with default options in Illustrator
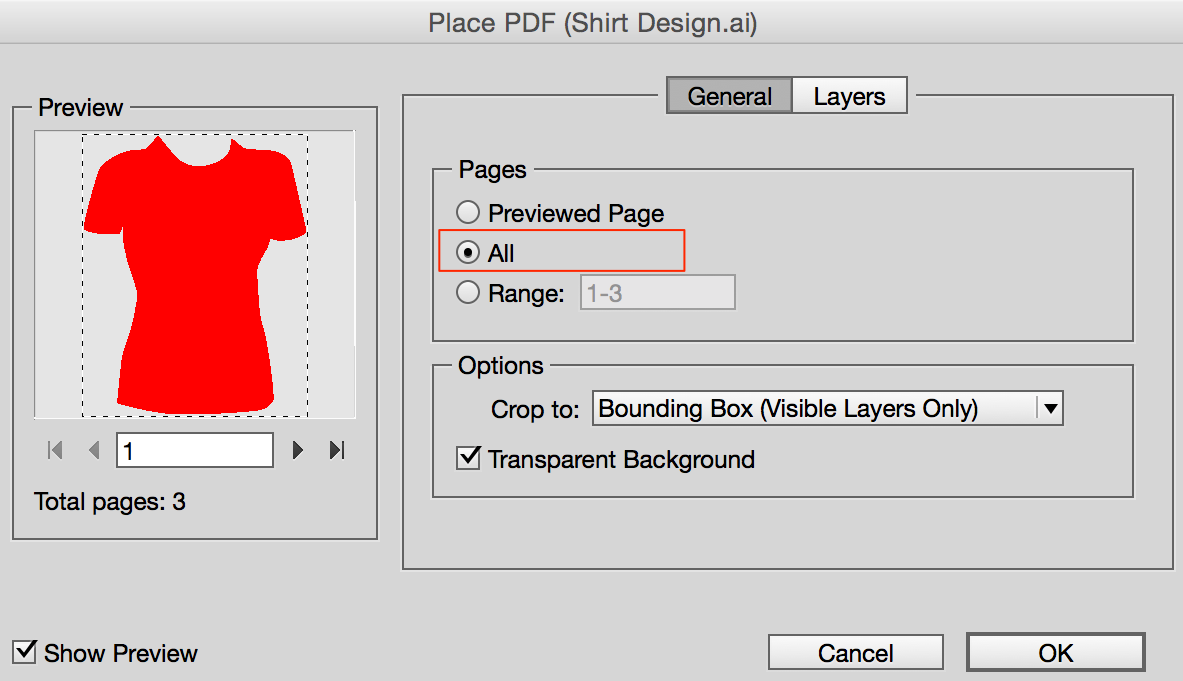
For this approach, after saving with default options in Illustrator, select Show Import Options while placing in InDesign (or hold Shift as you click Open in the Place dialog box). Choose All Pages and place the individual shirt designs in the document.
If you need a new color variation of the shirt later on, you can go back to Illustrator and do the following: select one of the artboards in Artboards panel and drop it on the New Artboard button, change the shirt’s color, rename the artboard, and save the file.

Even though you’ll see out-of-date alert icons for the instances of the linked AI file, no harm is done to the existing instances on updating the links—they remain as they were when placed initially. If you wish to bring in the new color version, place the file again, choose the corresponding artboard in the Place PDF dialog box, select Previewed Page, and click OK.
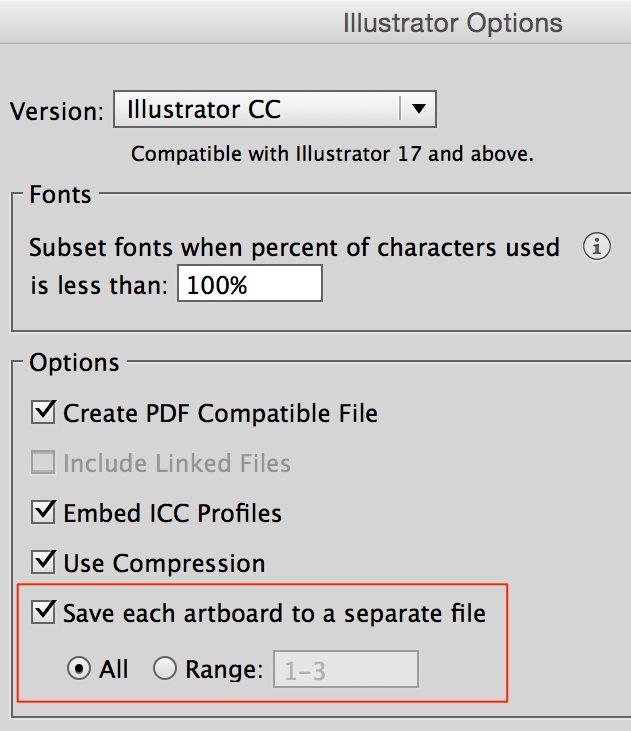
Save each artboard as a separate file
In the second approach (saving each artboard as a separate file by selecting this option in the Illustrator Options dialog box), the individual files get saved with the respective name of the artboard appended to the parent file name. You can then select and place all those individual files (Red/Green/Blue/Yellow).

If new color variations are added as new artboards in Illustrator, it’s a breeze to place them since you can identify them by their individual file names.
Use Illustrator layers when you need them in Illustrator
As you can see, throughout this exercise, I worked on the default layer in Illustrator and did not bother creating multiple layers for the different color variations. Of course there are many reasons why you might want to create layers in your Illustrator files. Just realize that you don’t always have to do it for the sake of placing different versions of the artwork in InDesign. And since you can create up to 100 artboards in an Illustrator file, this alternative method can handle plenty of versions of your artwork.
The next time you have to create and place several versions of an Illustrator file, consider the multiple artboards approach instead of layers. I think you’ll be glad you did!
Very clever! I can see lots of uses for this technique. Thanks for all the artboard tips too. ;-)
Don’t forget, you can re-order your artboards using the artboard panel in Illustrator.
For example, File>Place and place artboard 1. Open the file and move Artboard 2 above Artboard 1.
That should now reveal itself in InDesign.
One thing to have in mind when working with both InDesign and Illustrator simultaneously is that whenever you add a new layer and save it’s going to change the already placed file to the active layer; to avoid it you have to go to Settings>File Handling>Hide new layers when updating and re-linking.
I know that working with artboards is really cool but the problem I find when it’s cropped and positioned in InDesign with a custom scale and later on I change artboards it resets the position.
If there’s a way to avoid that I would love to know!
Photoshop artobards – how to place in inDesign for presentation -without saving out as individual files and placeing but placing the artborad without all the extra space and extra artboards… need asap! can anyone give me an answer ?! I cant find it in any forum yet! thanks