

Paper Cut Out FX

Simulating a paper cut out is a fun effect you can use any time you want to emphasize the silhouette of a photo’s subject. And it’s very quick and easy to achieve. All you need is a few clicks with the Pen tool and a little dash of transparency effects.

Here’s how:
Start by placing the image you want to use for your cut out. Silhouetted images work well, but don’t be afraid to try this technique with any photo or graphic.

Take the Pen tool and set the stroke to black and no fill.
Create a new frame by tracing roughly around the image. Just click, don’t drag if you want straight edges.

Cut the image from the original frame, and delete that frame.
Select the traced frame and choose Edit > Paste Into.

Reverse the stroke and fill by pressing Shift+X.

Reduce the tint of the black fill to 10%.

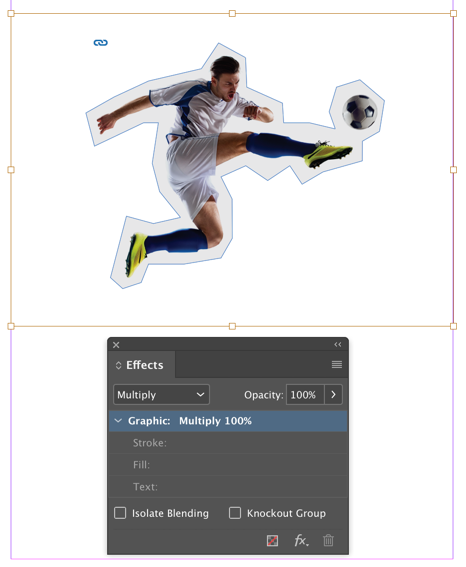
Select the graphic with the Direct Selection tool.
In the Effects panel, change the blend mode to Multiply, so the graphic blends with the 10% black fill of the frame. This creates a more realistic look of a printed image.
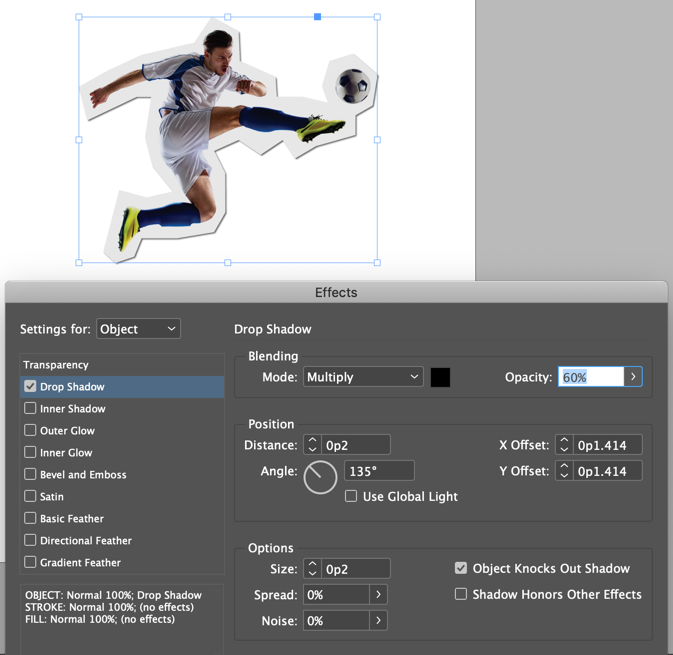
Add a drop shadow with small values for Distance and Size.
Place the image on an appropriate background.

Save the cut out attributes in an object style.

Repeat the trace and paste into process for other images and use the object style to format them all. You can use the same technique with text frames instead of photos. Just paste the entire text frame into the frame you create with the Pen tool.
<3
Love it!
thanks