

Tip of the Week: Pasting Photoshop Vector Paths into InDesign

This InDesign tip on pasting Photoshop vector paths in InDesign was sent to Tip of the Week email subscribers on December 8, 2016.

Sign up now and every week you’ll get a new tip, keyboard shortcut, and roundups of new articles, plus exclusive deals sent right to your Inbox!
Just scroll down to the bottom of this page, enter your email address, and click Go! We’ll take care of the rest. Now, on with the tip!
Photoshop has a big set of vector shapes that you can use as frames in InDesign to make interesting layout effects. To access them in Photoshop, choose the Custom Shapes Tool in the toolbar (grouped with the rectangle, ellipse, polygon, etc.). When you select the Custom Shapes tool, the menu of available shapes will appear in the Options bar.

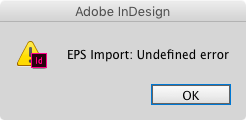
In order to use those vector shapes in InDesign, you have to take an extra step. You can’t copy and paste them directly from Photoshop, or you’ll see this:
The trick is to select the shapes using the Path Selection Tool in Photoshop.
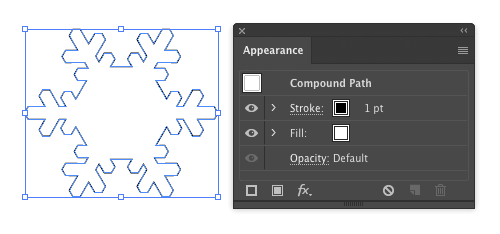
Then paste into Illustrator.
The path will come in with no stroke or fill. In order to paste it into InDesign, you must give it some formatting before copying it. The quickest way to do this is to press the D key, which will apply default formatting of a 1pt black stroke and a white fill.
Then copy, switch to InDesign, and paste. You’ll get a fully editable vector shape with the same stroke and fill that was used in Illustrator.

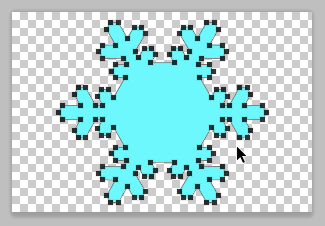
Then you can place an image or text into the frame, resize it, apply formatting and effects, etc.

enjoy this site
missing some major steps in indesign – create clipping path, convert clipping path to frame.
where is the Path Selection Tool??!
So in order to use the Photoshop custom shapes in InDesign I have to go through
Photoshop > Illustrator > InDesign? There is no other way?