

Tip of the Week: Using Align to Key Object

This tip was sent to Tip of the Week email subscribers on June 9, 2016.

Sign up now and every week you’ll get a new InDesign Tip of the Week and Keyboard Shortcut of the Week, along with roundups of new articles at InDesignSecrets, plus exclusive deals sent right to your Inbox!
Just scroll all the way down to the bottom of this page, enter your email address, and click Go! We’ll take care of the rest. Now, on with the tip!
When it comes to aligning items in InDesign, you have no shortage of options. In both the Control panel and the Align panel, there are the familiar six buttons to align left edges, right edges, horizontal centers, top edges, bottom edges, or vertical centers.
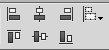
But did you ever notice the icon next to those six buttons? It’s a pop-up menu you can use to select what you want to align to. And there are five choices in the menu: Align to Selection, Align to Key Object, Align to Margins, Align to Page, and Align to Spread.
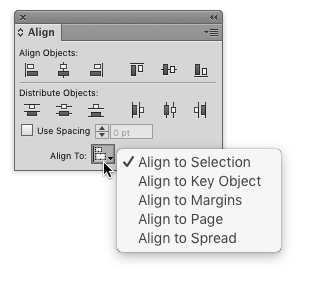
They’re all pretty self-explanatory except maybe Align to Key Object. With this option, you can define any selected item as the “key object” to which others will align. Illustrator had this feature long before it made its way into InDesign CS6.
Align to Key Object
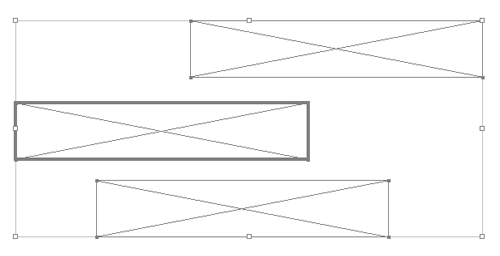
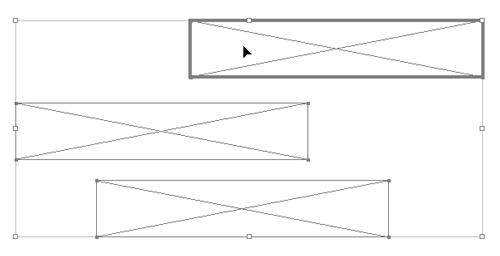
How do you define the key object? Just select all the items you want to align, then click on the one you want to use as the key object. It will be displayed with a thicker bounding box than the other items. Note that when you choose a key object, the menu of options will automatically switch to Align to Key Object.
Want to choose a different key object at this point? Just click it.
To have no key object (and revert back to whatever option you had chosen previously), click the current key object.
Another ID conundrum cleared up! At this rate, the app might reach full, clear use very soon, with the only loss being whatever slight mystery it had for those of us who struggled with it sometimes opaque ways.
Thank you for this very useful tip.